
Porch Furniture Project: Virtual Open House/Shop Tour
Did you miss the Porch Furniture Project Open House in December? Take a virtual tour through the furniture making process.


Blog for the Port Townsend School of Woodworking, including school updates, class offerings, and students writing about their experiences.
Did you miss the Porch Furniture Project Open House in December? Take a virtual tour through the furniture making process.
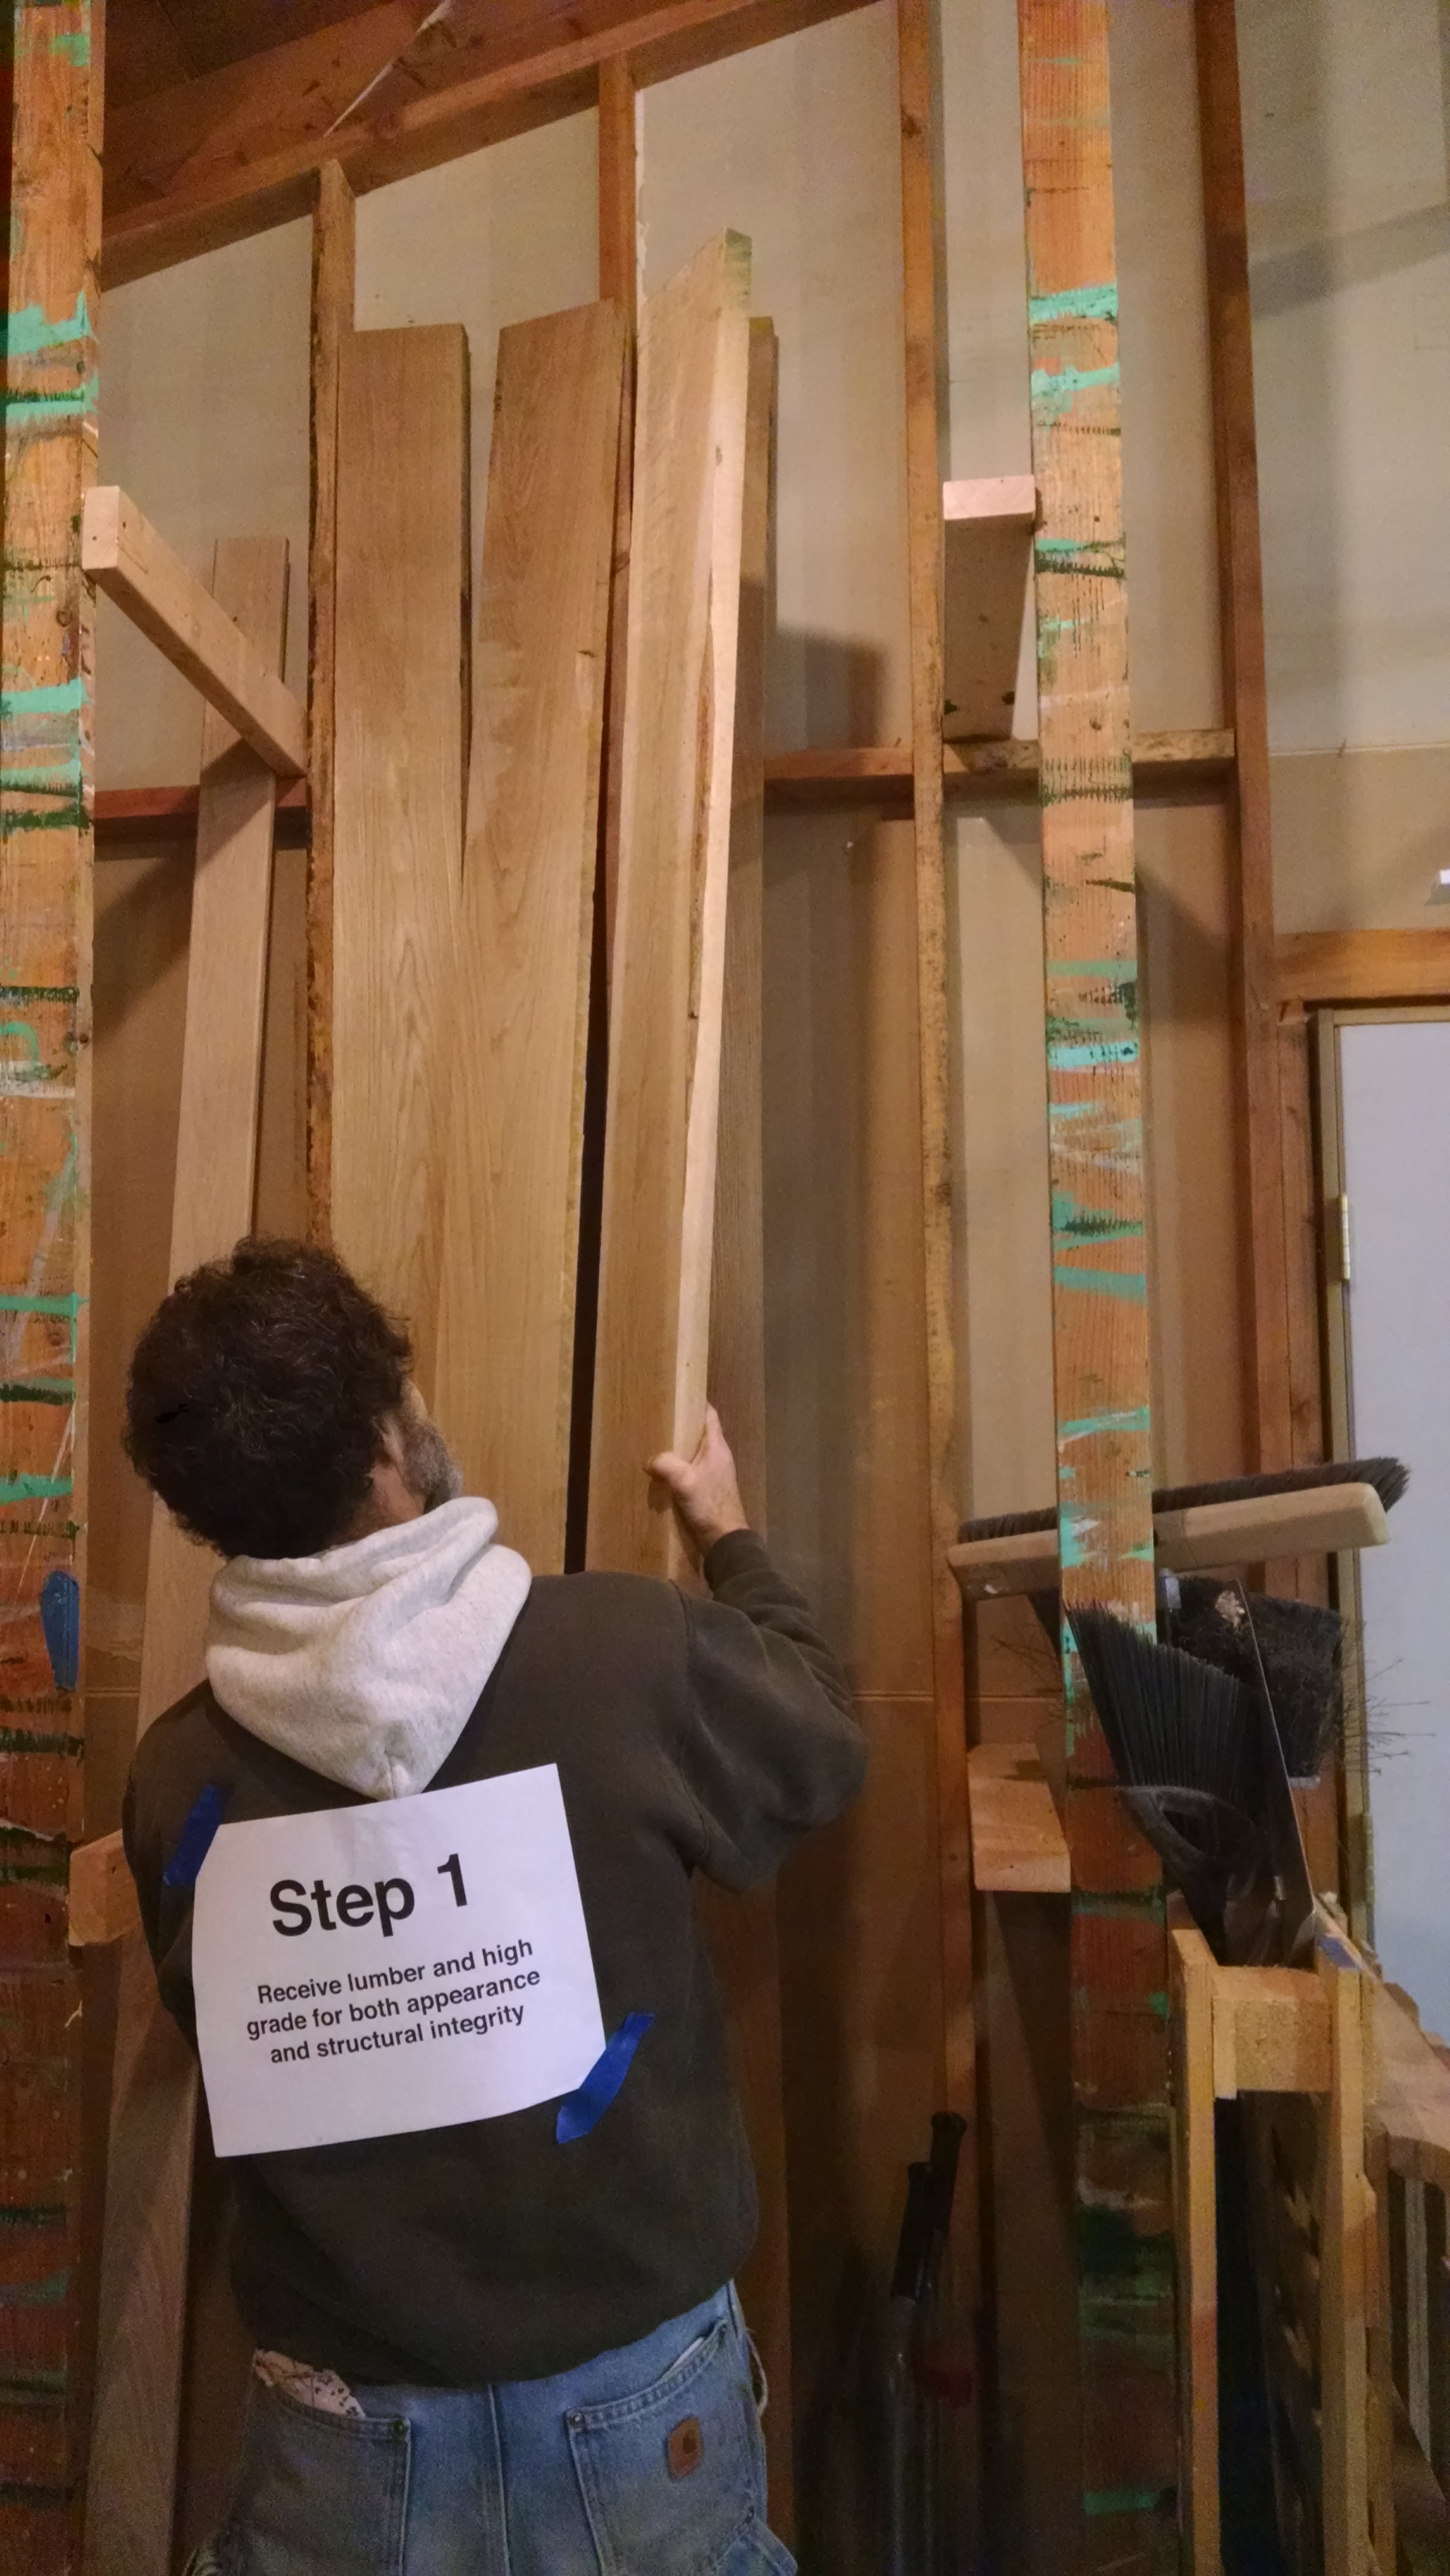
Receive lumber and high grade for both appearance and structural integrity
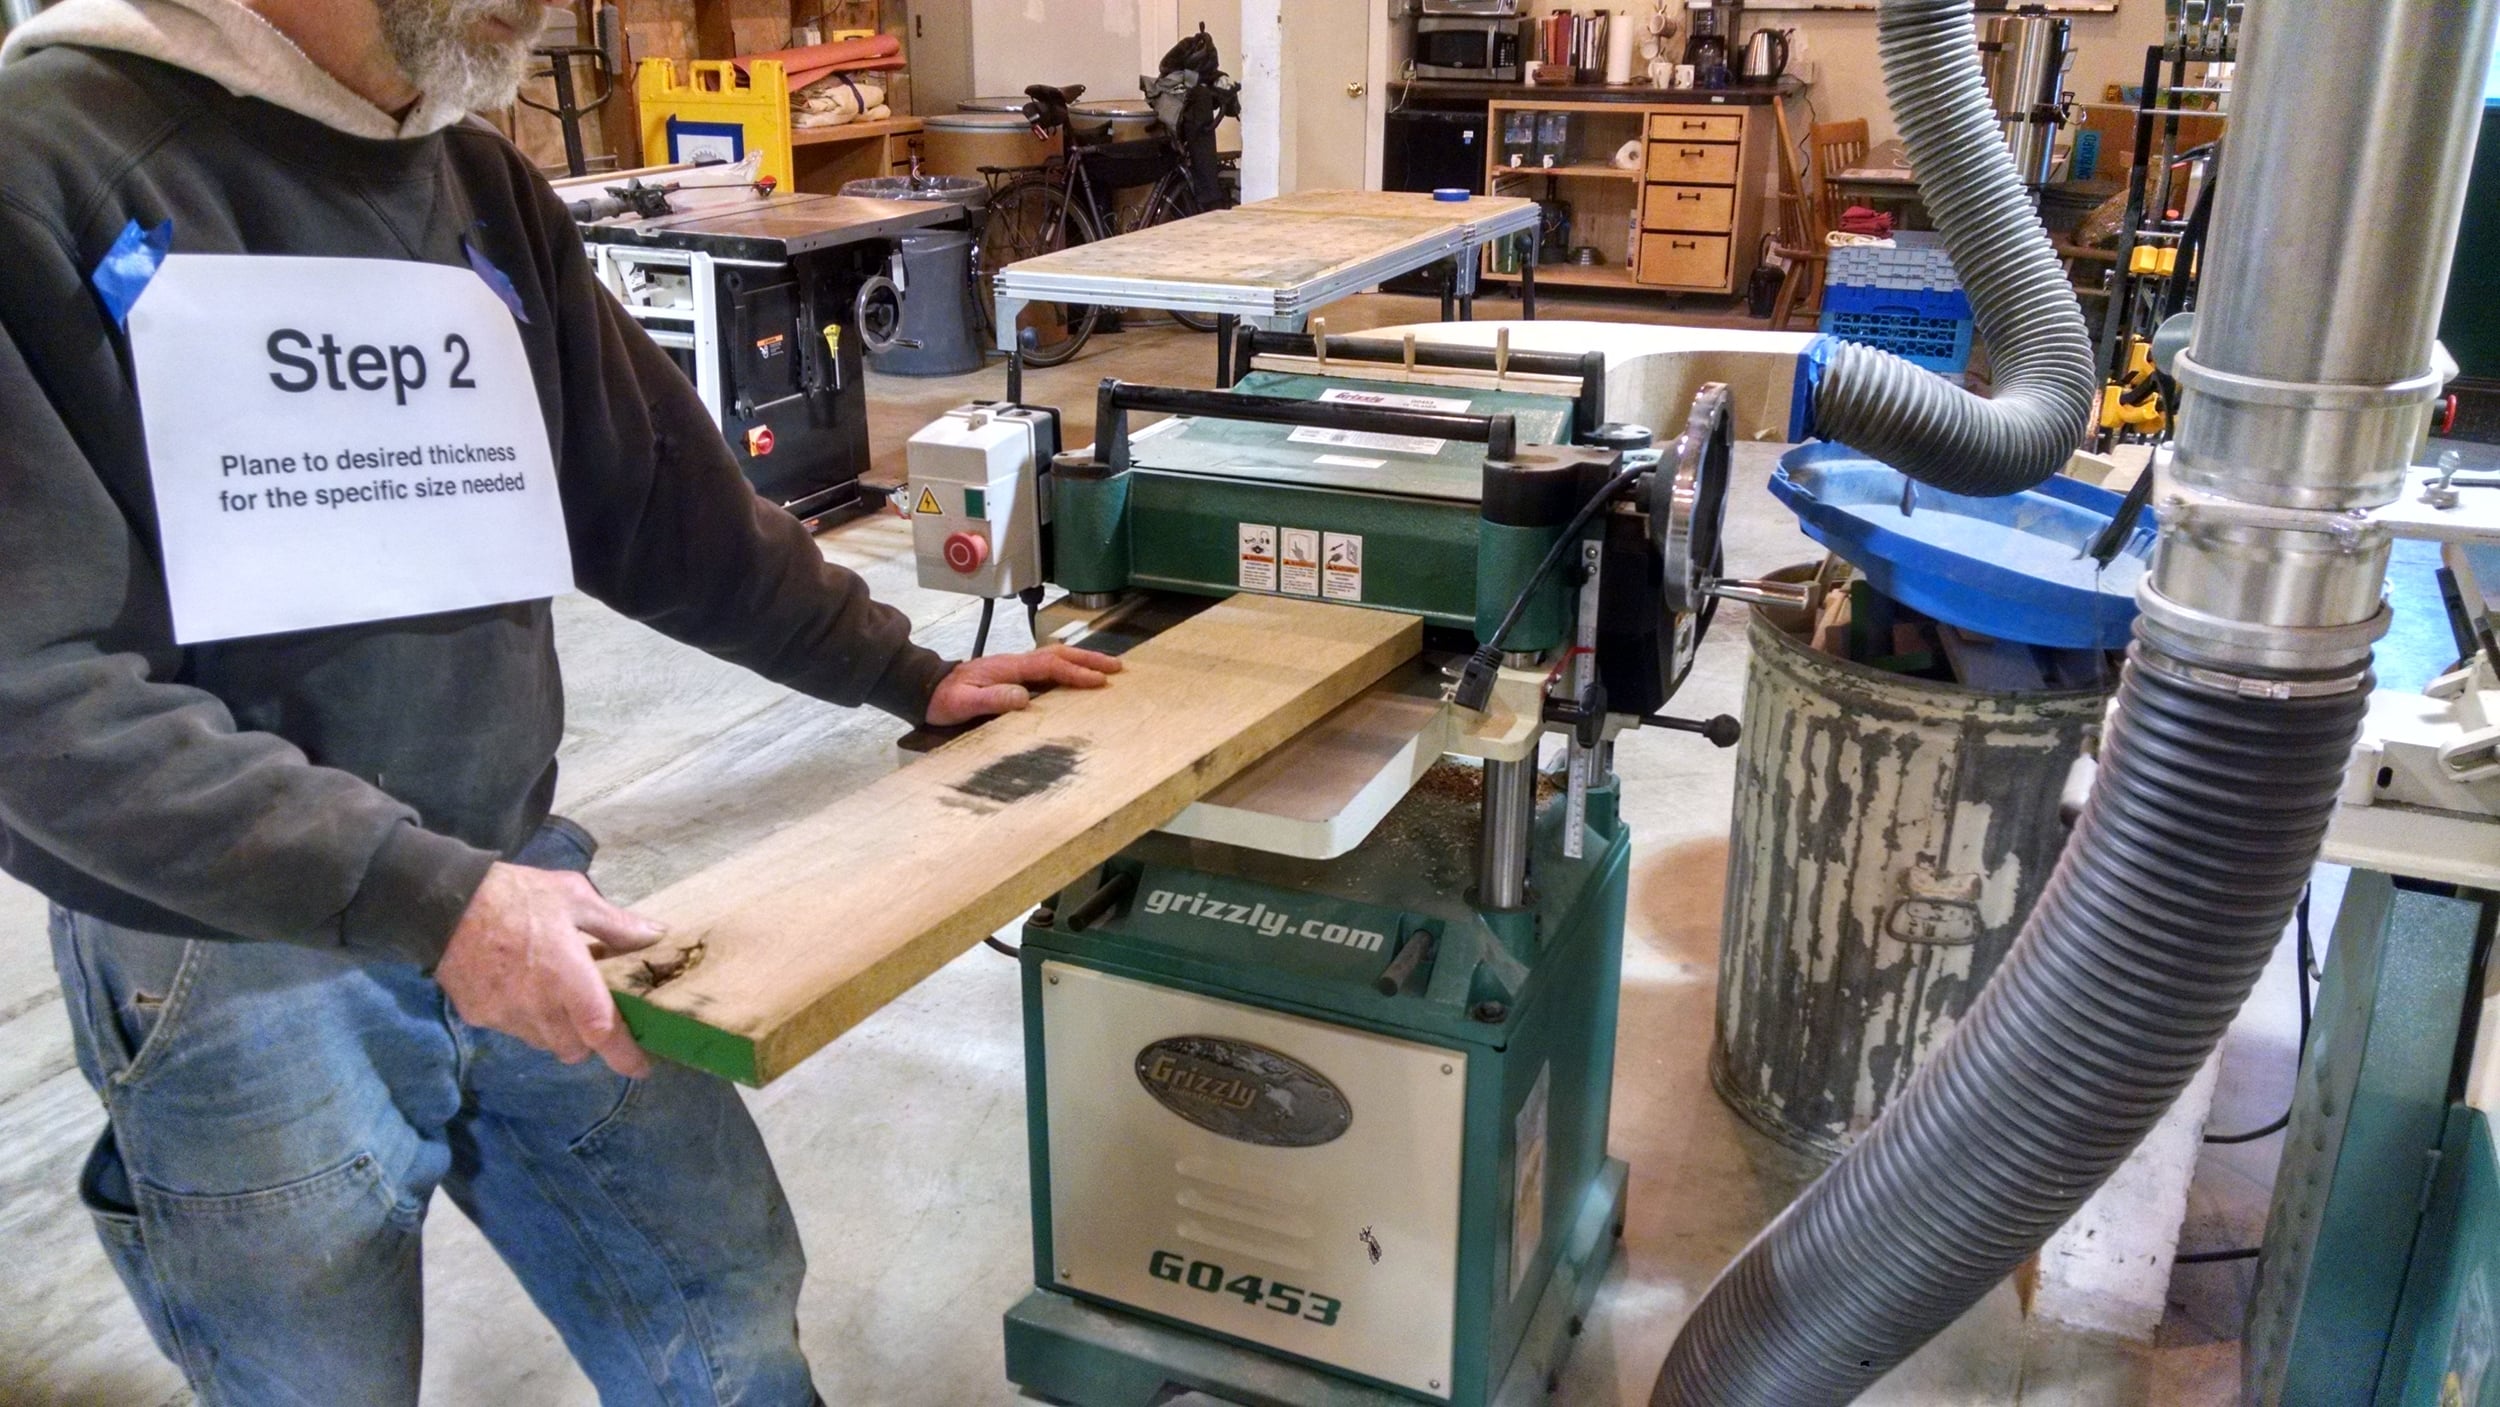
Plane to desired thickness for the specific size needed
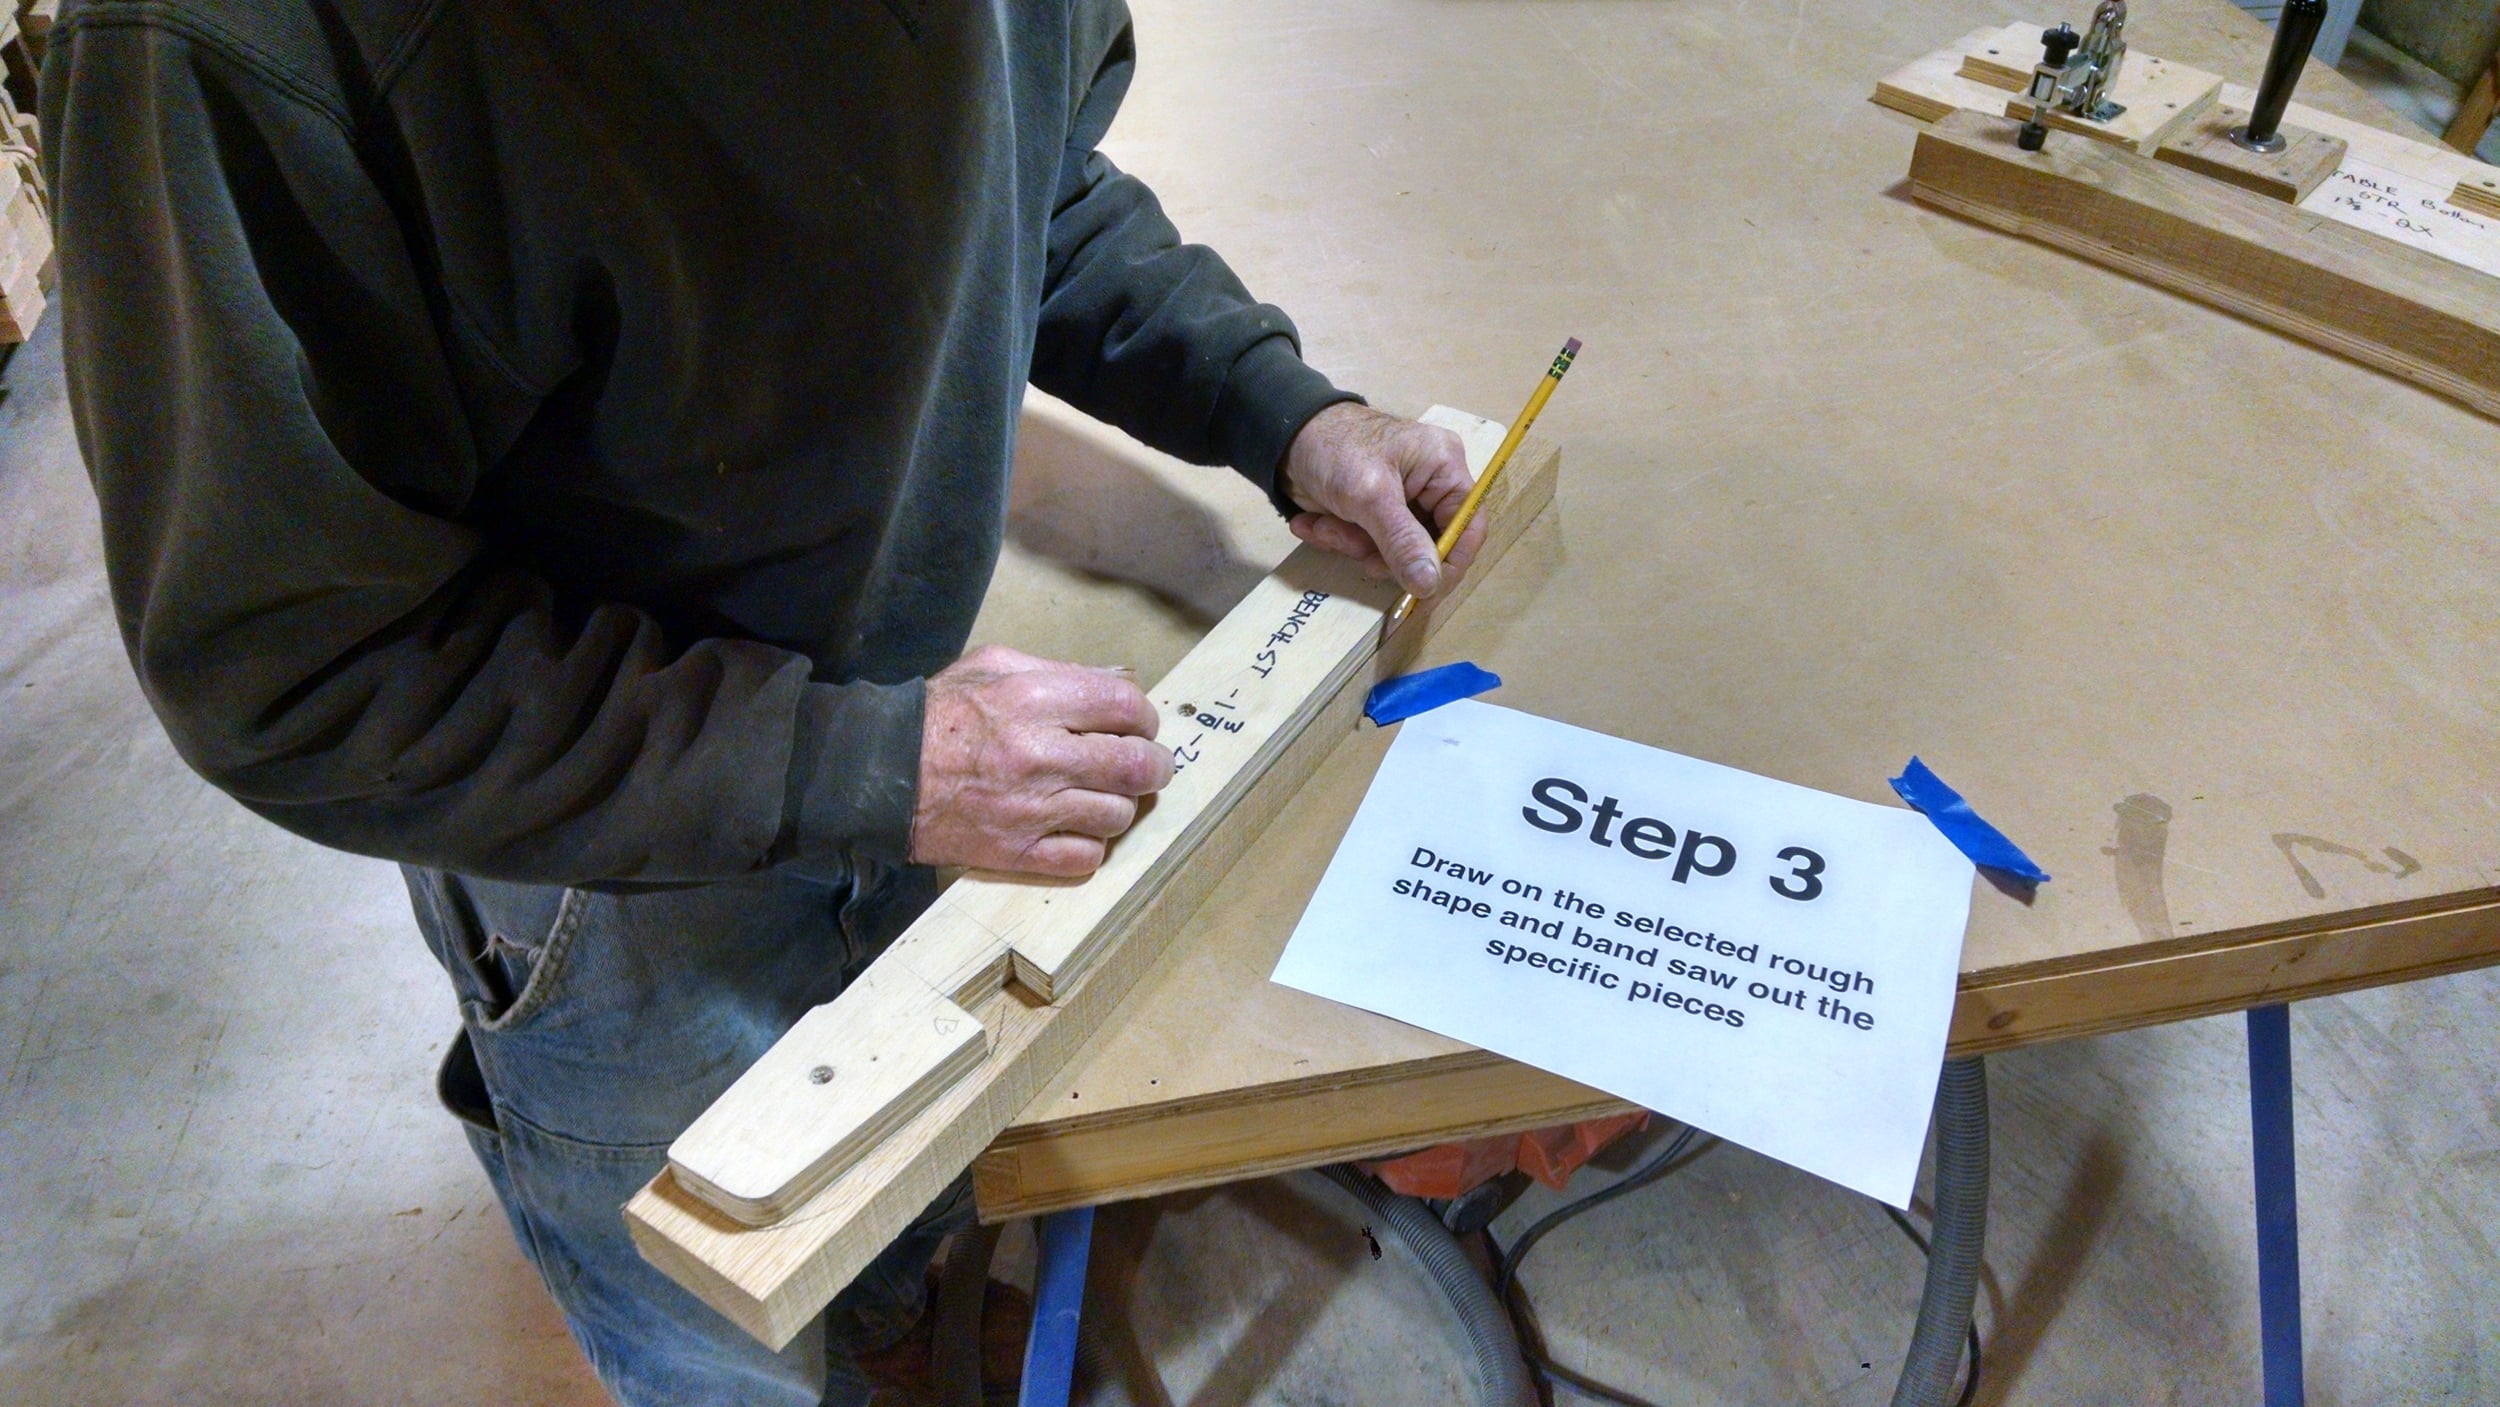
Draw on the selected rough shape and band saw out the specific pieces
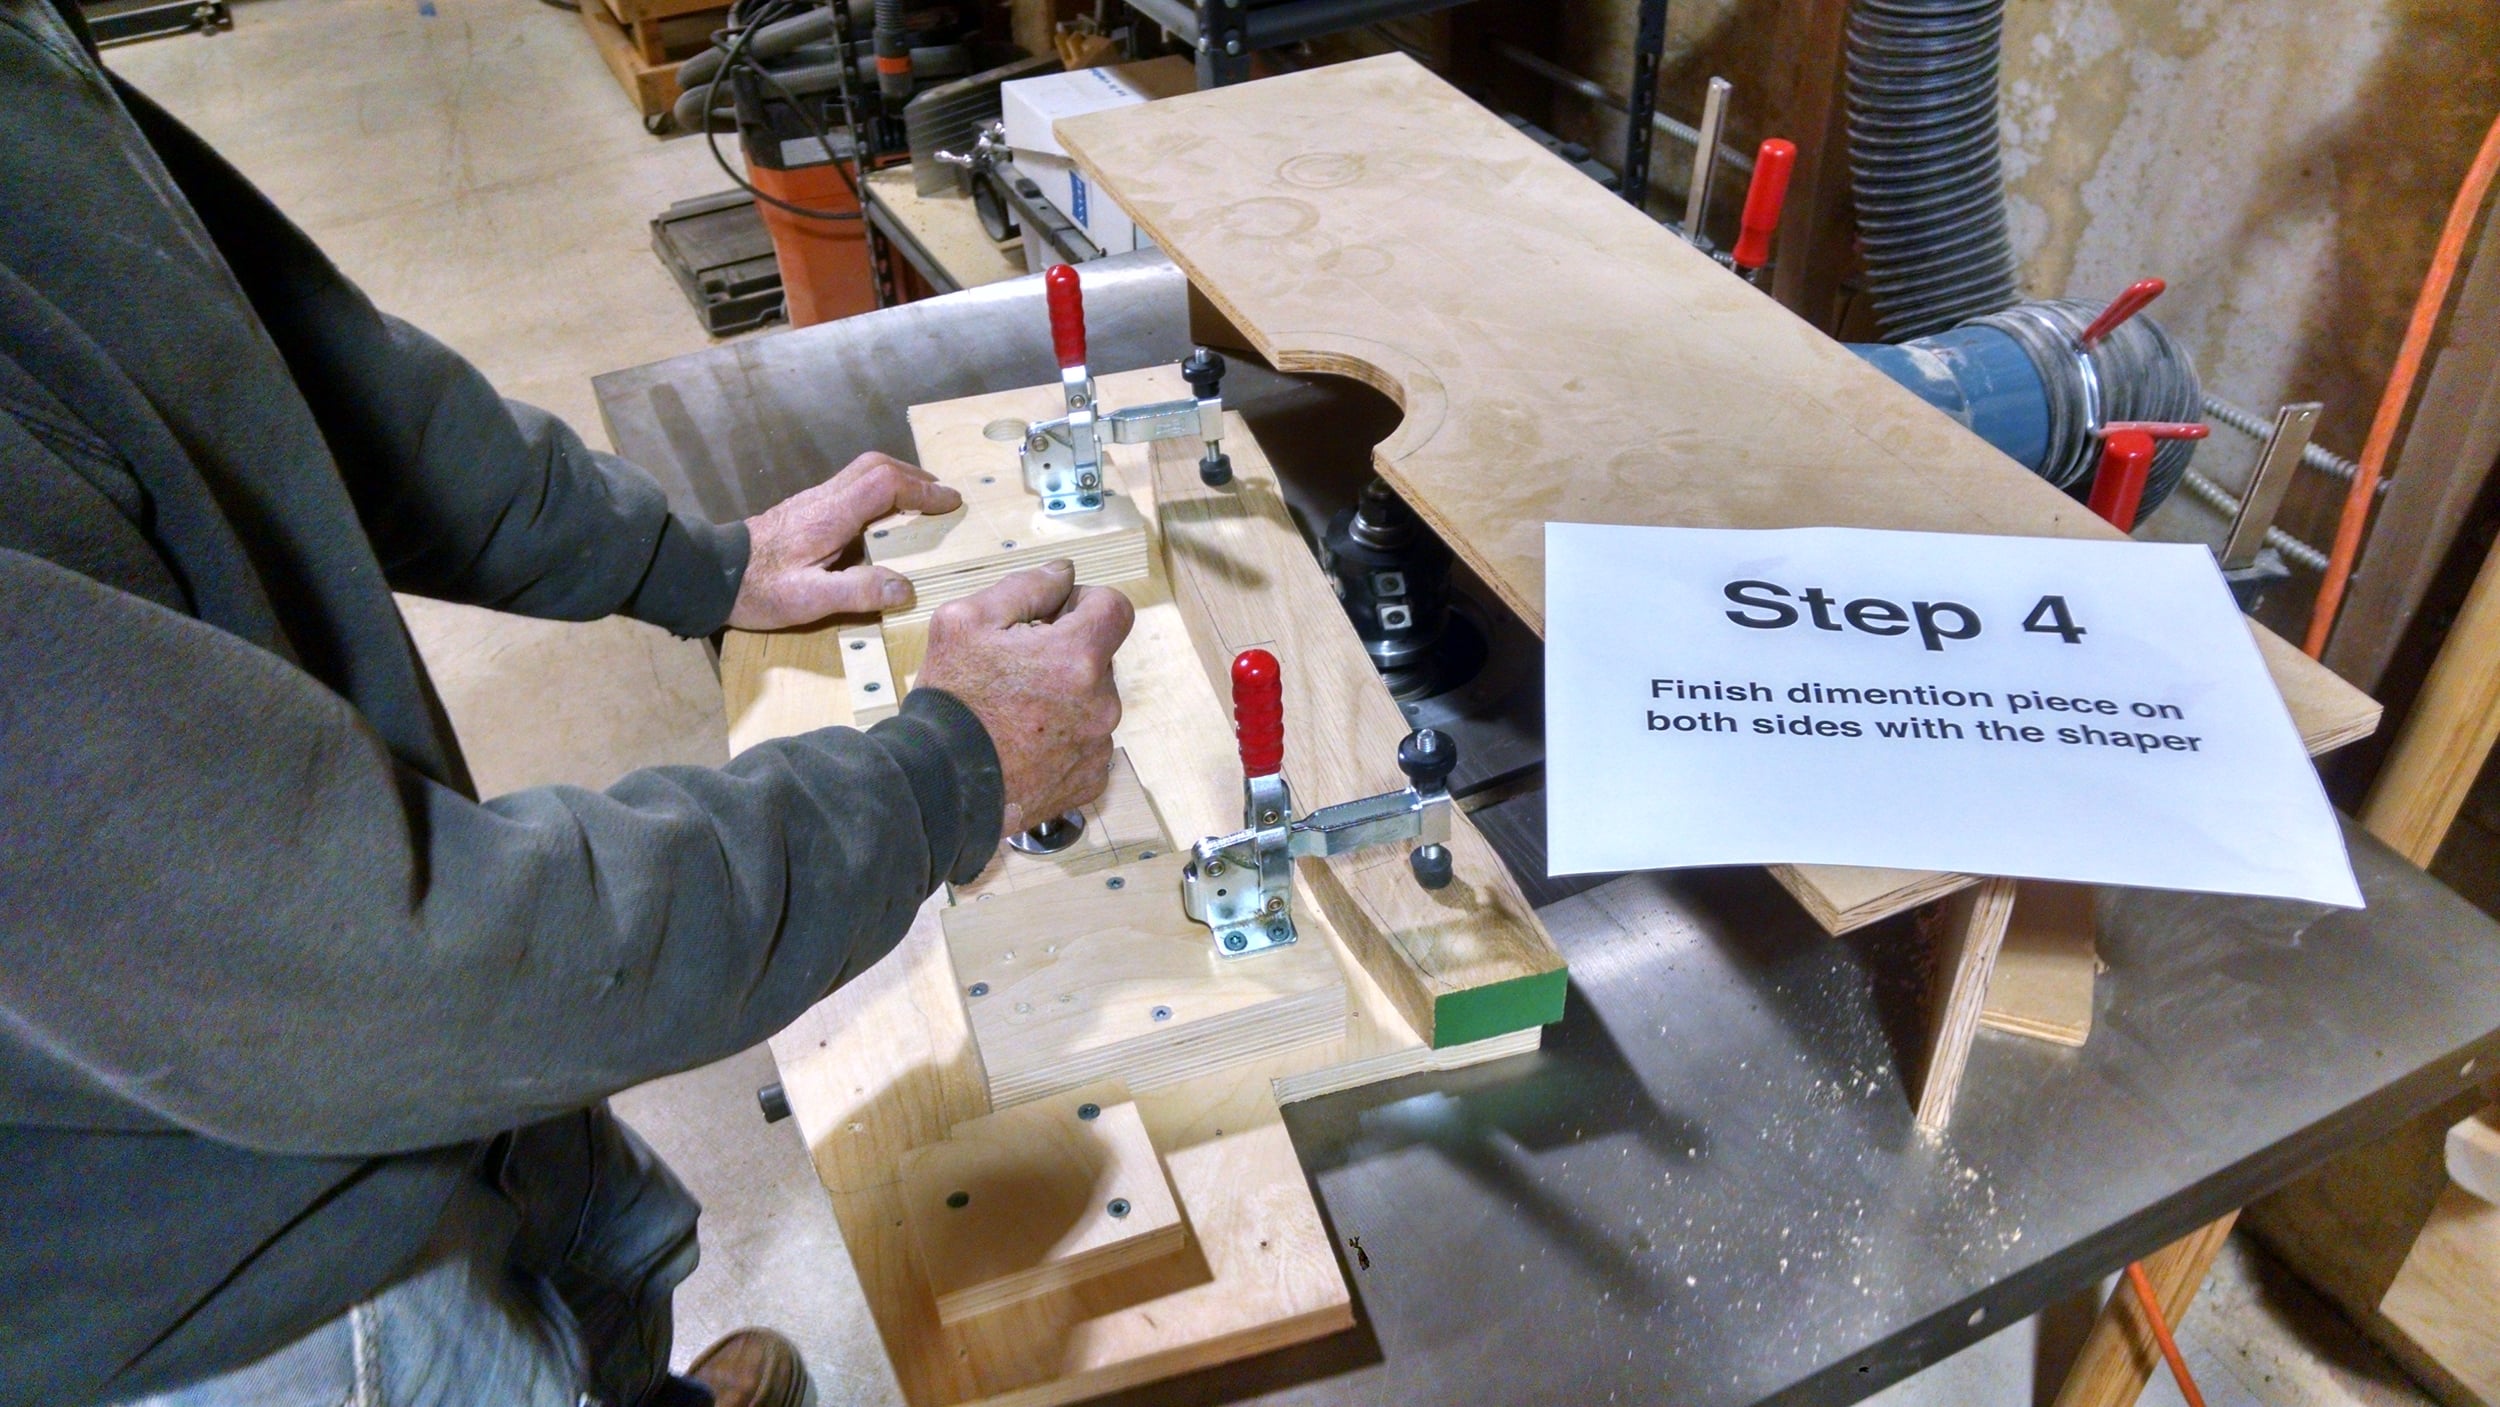
Finish dimension piece on both sides with the shaper
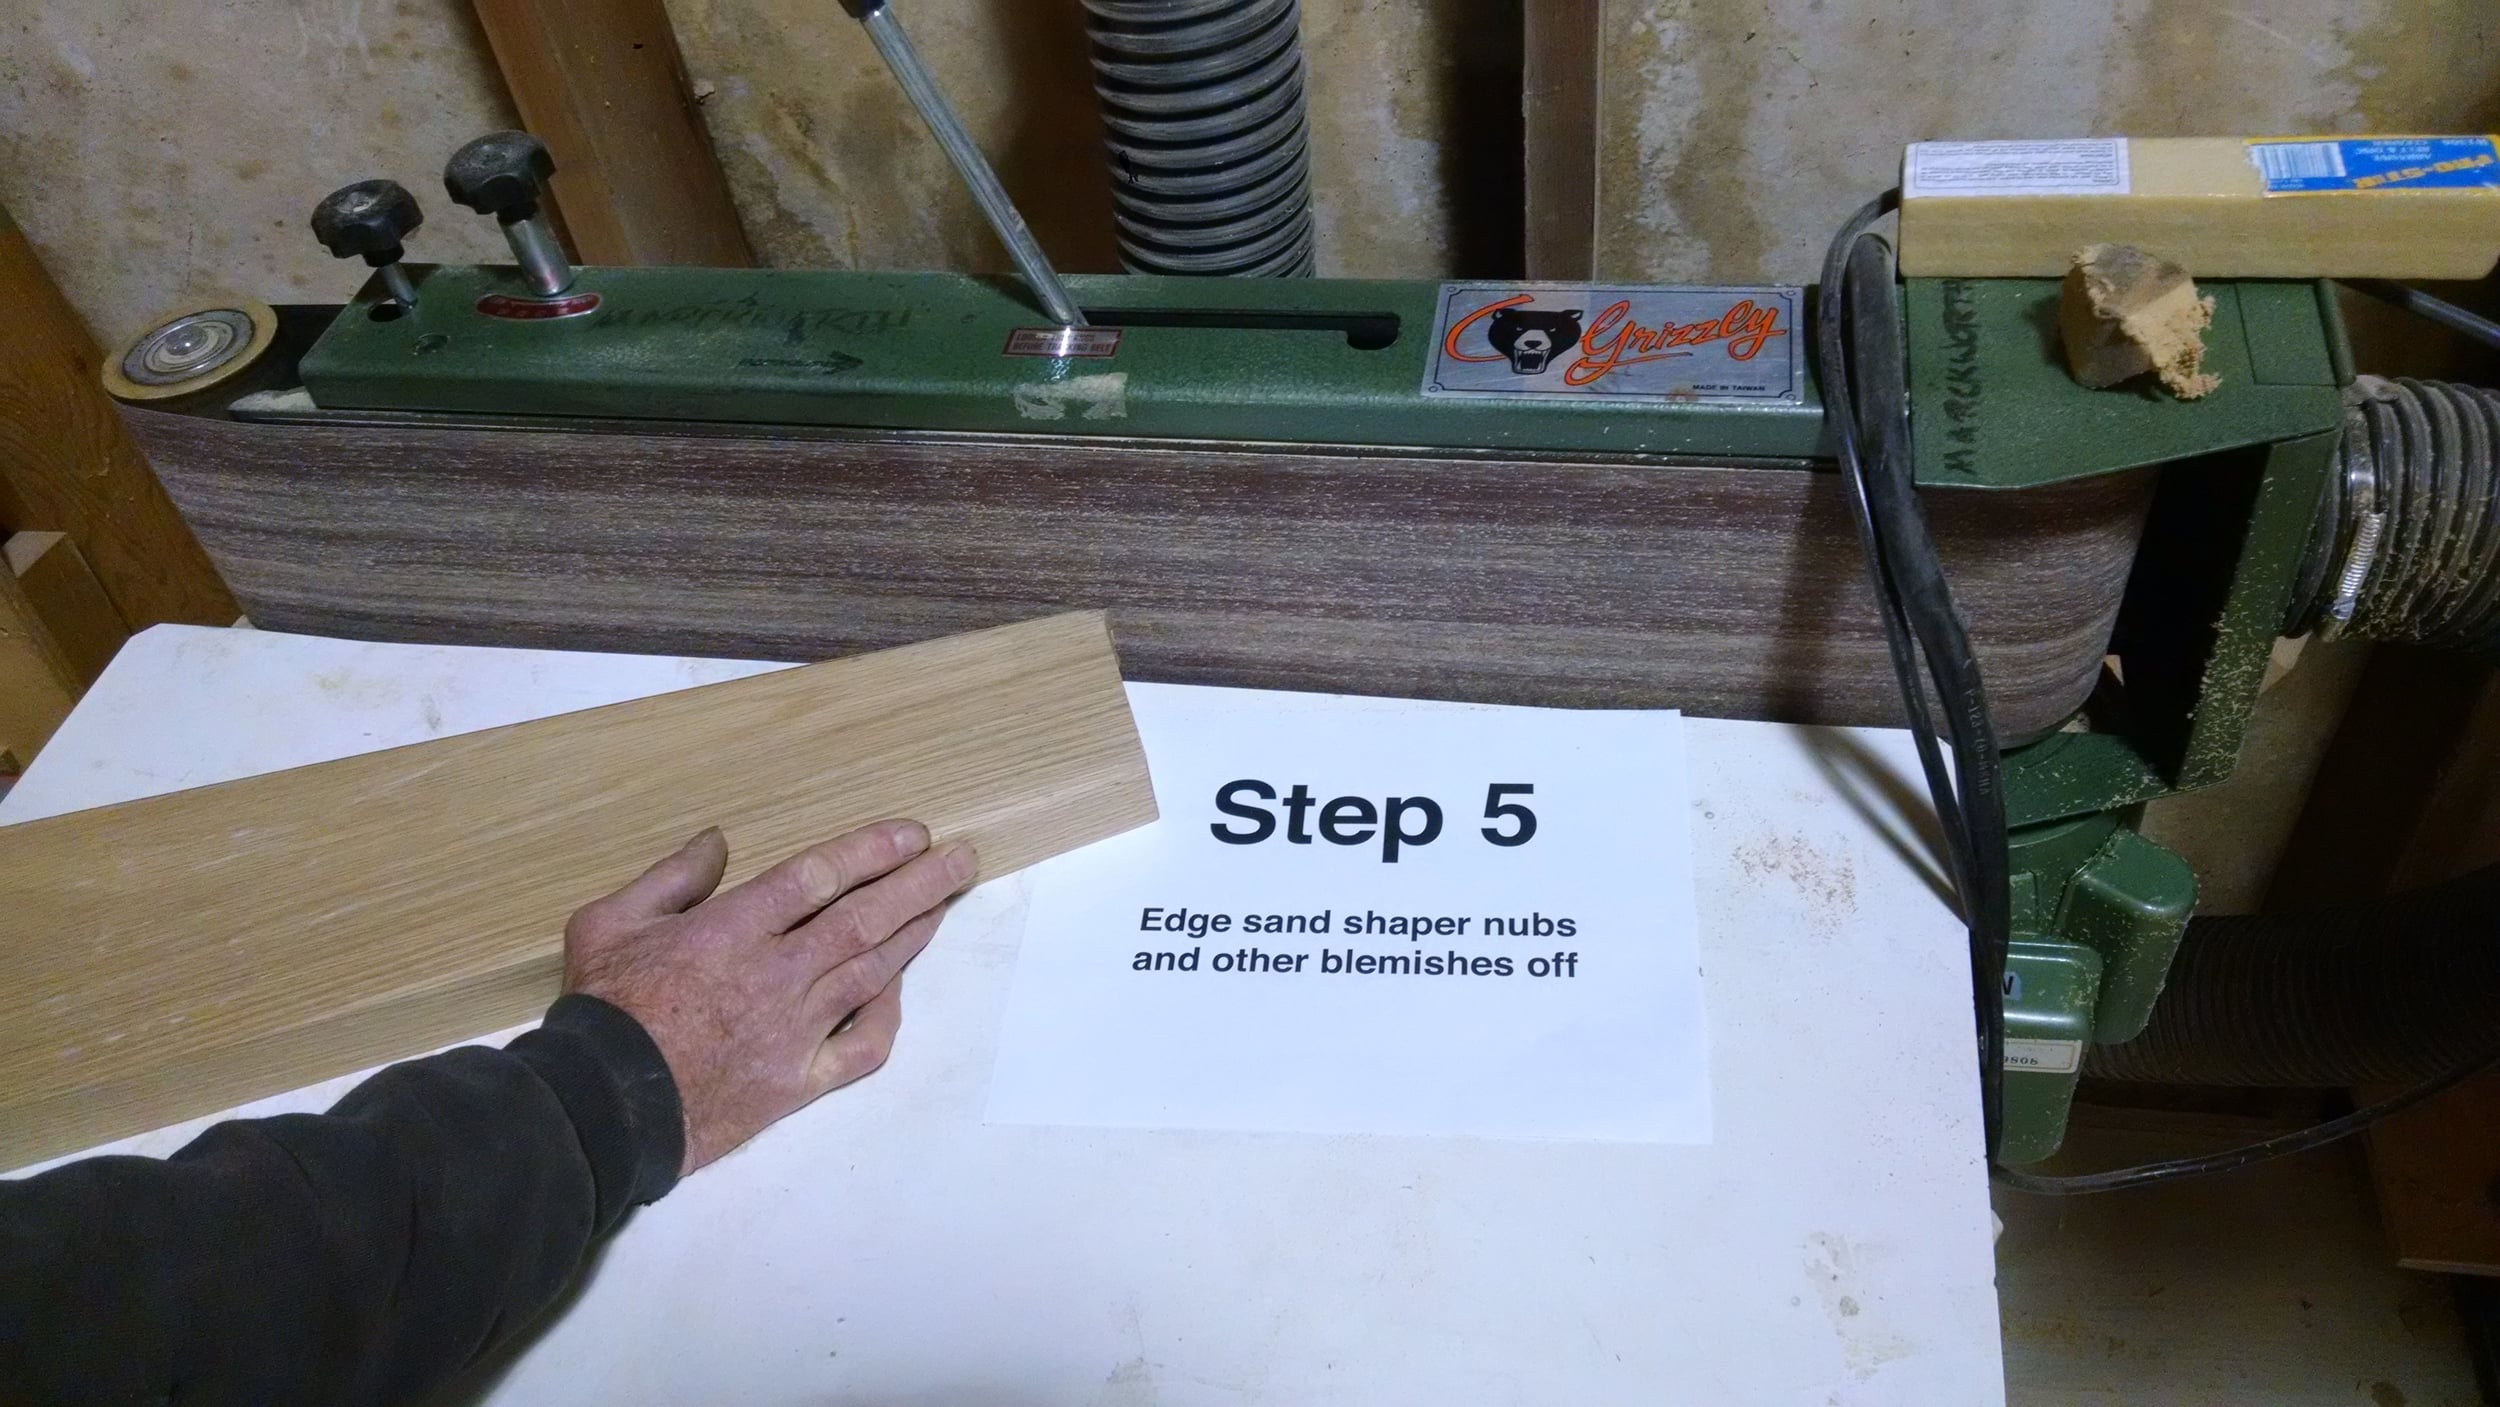
Edge sand shaper nubs and other blemishes off
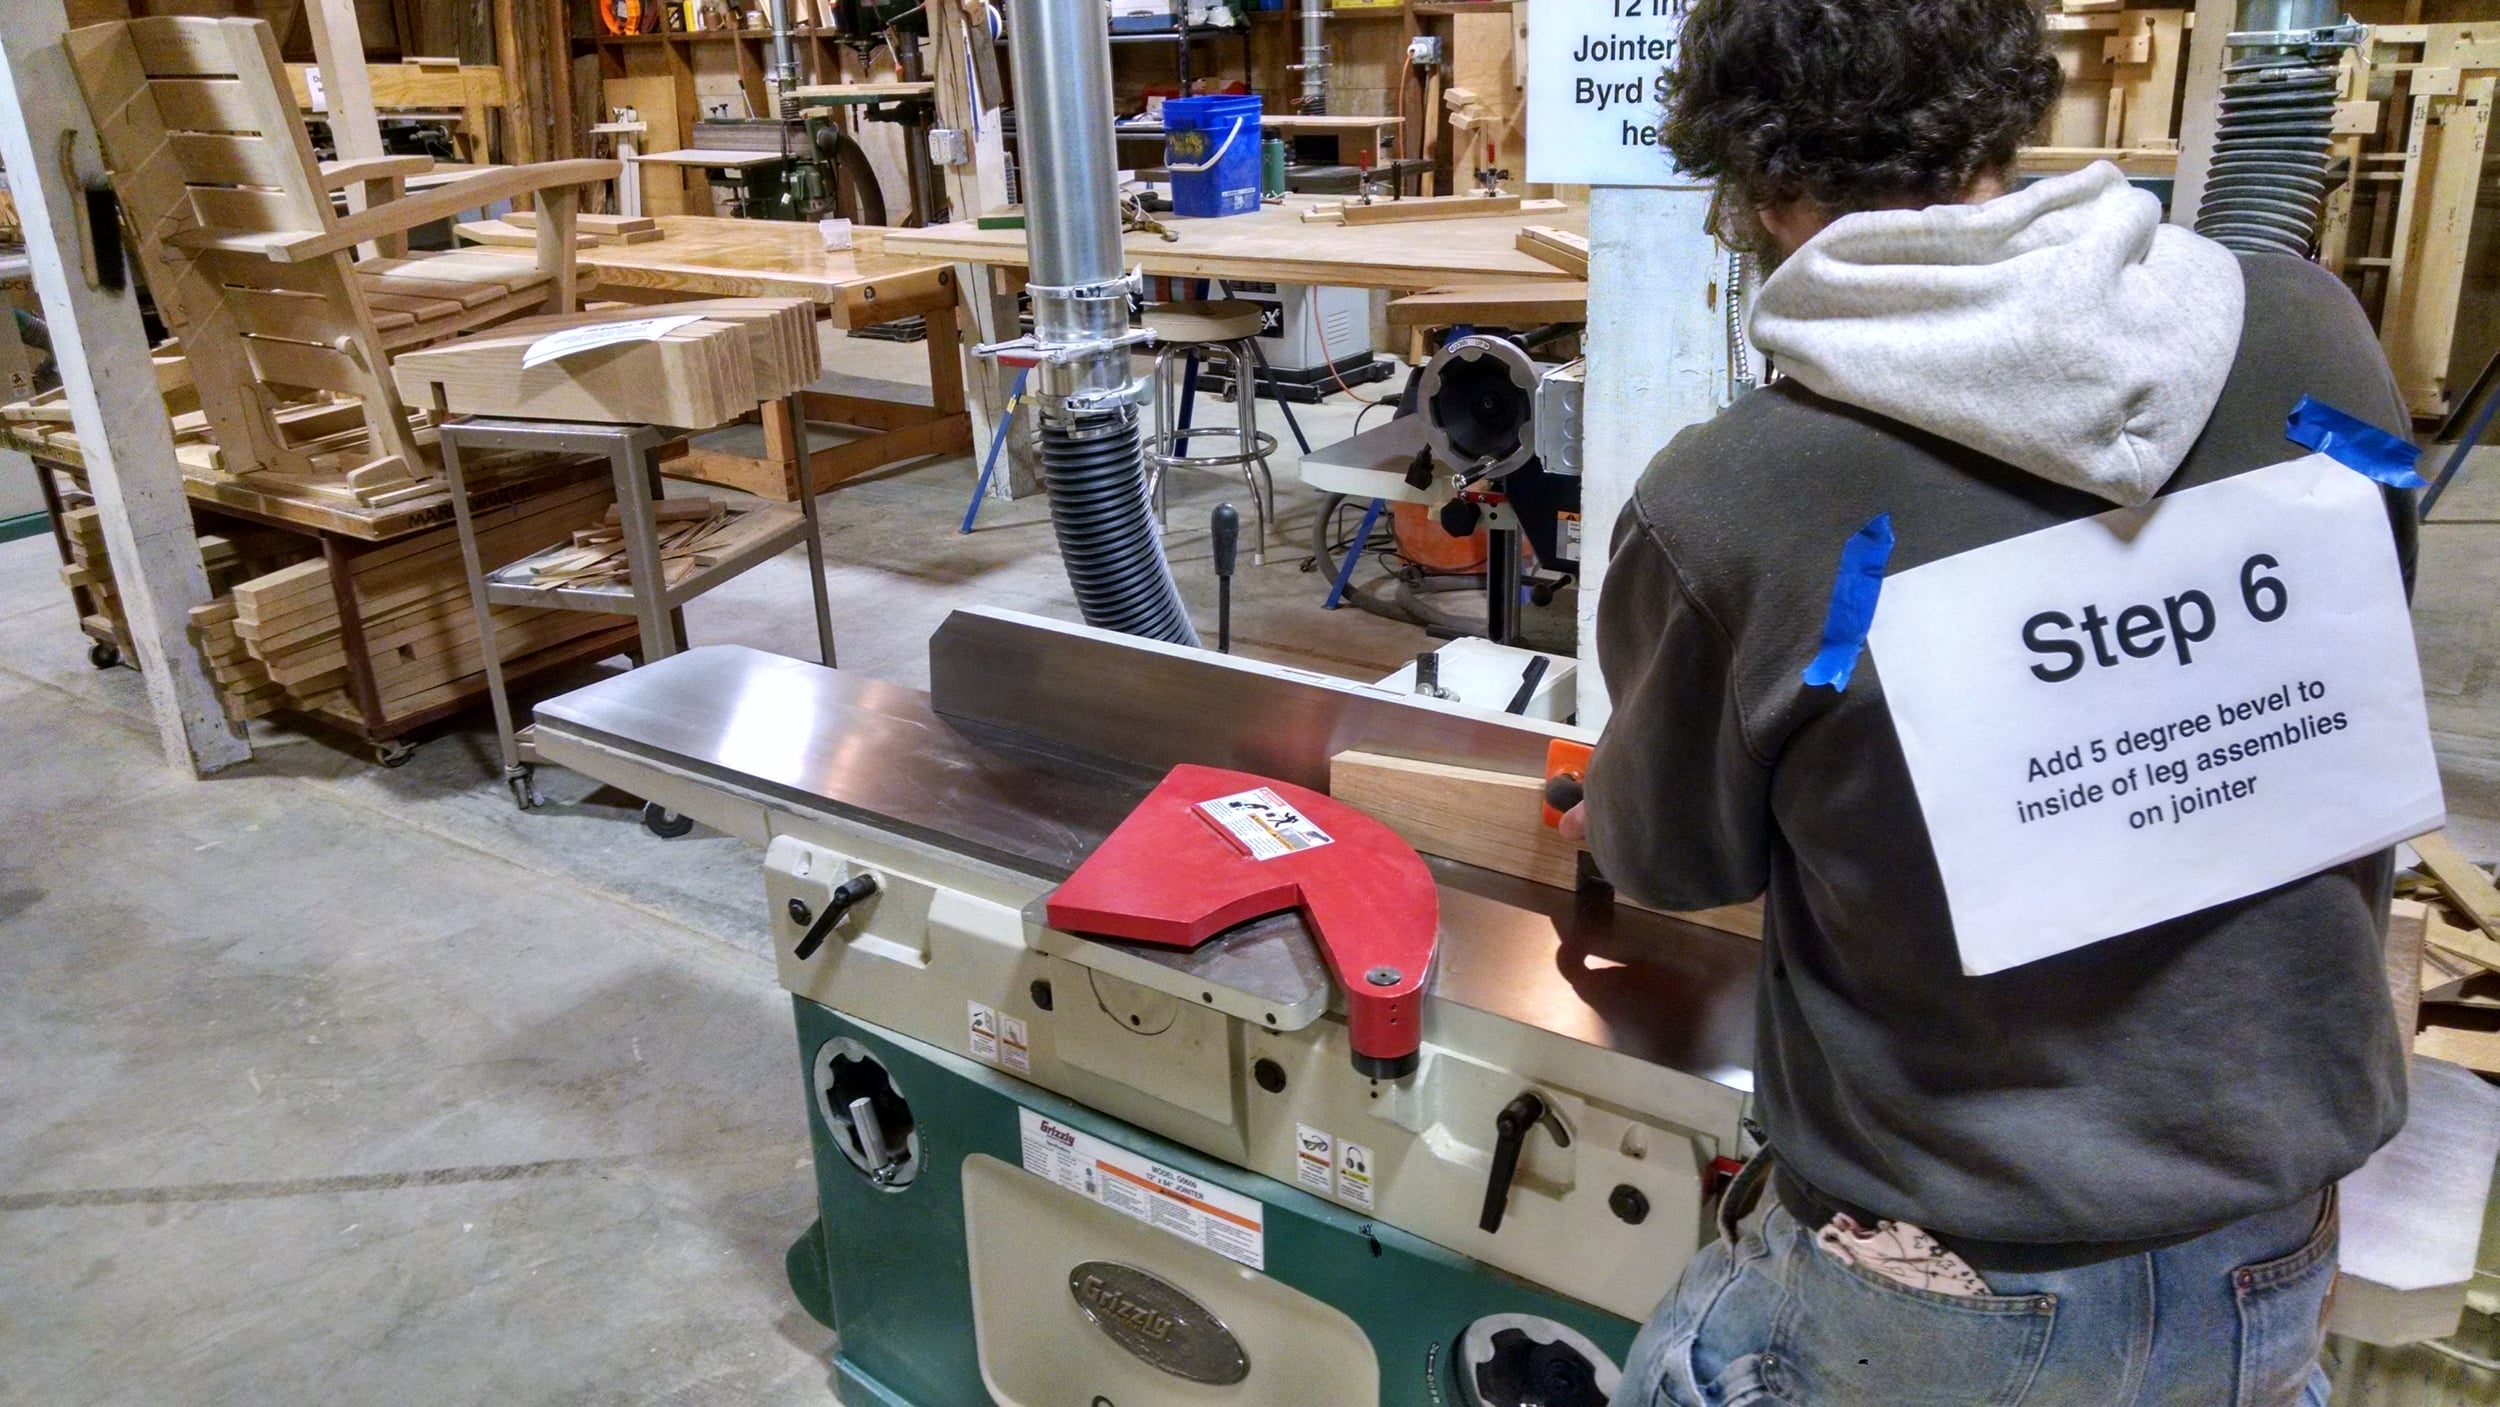
Add 5 degree bevel to inside of leg assemblies on jointer
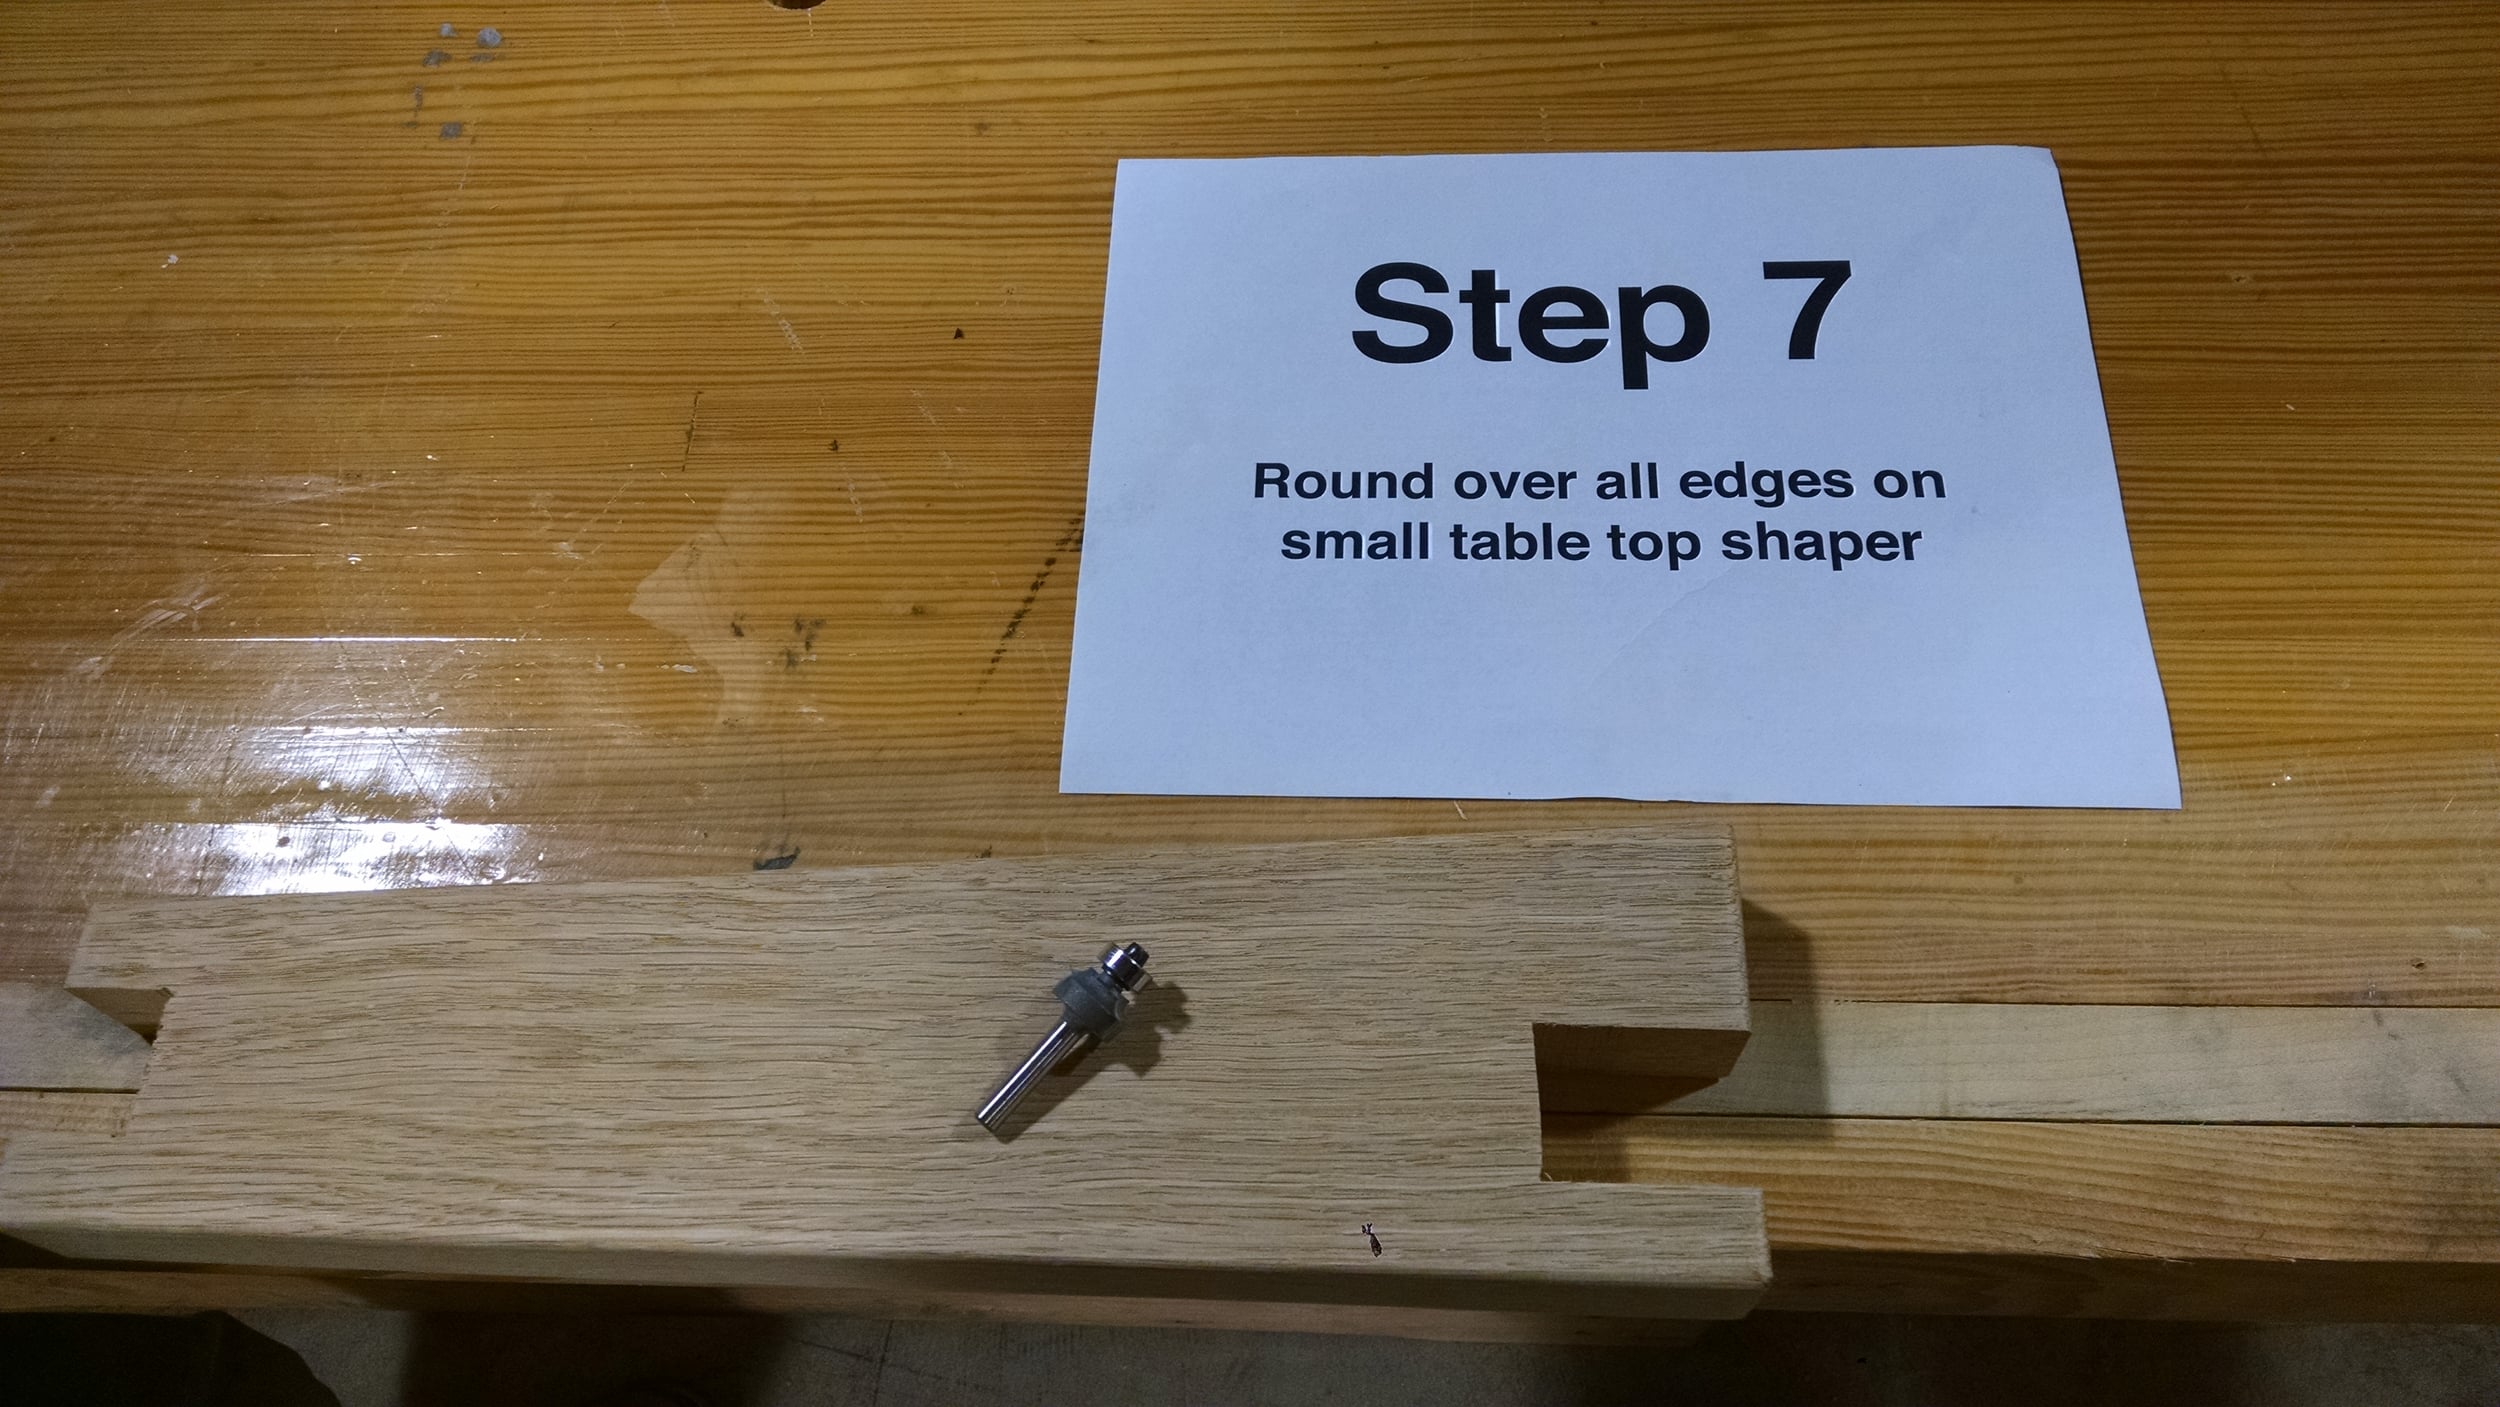
Round over all edges on small table top shaper
Cut dado and bandsaw saddle notches into the specific parts as needed and confirm fit
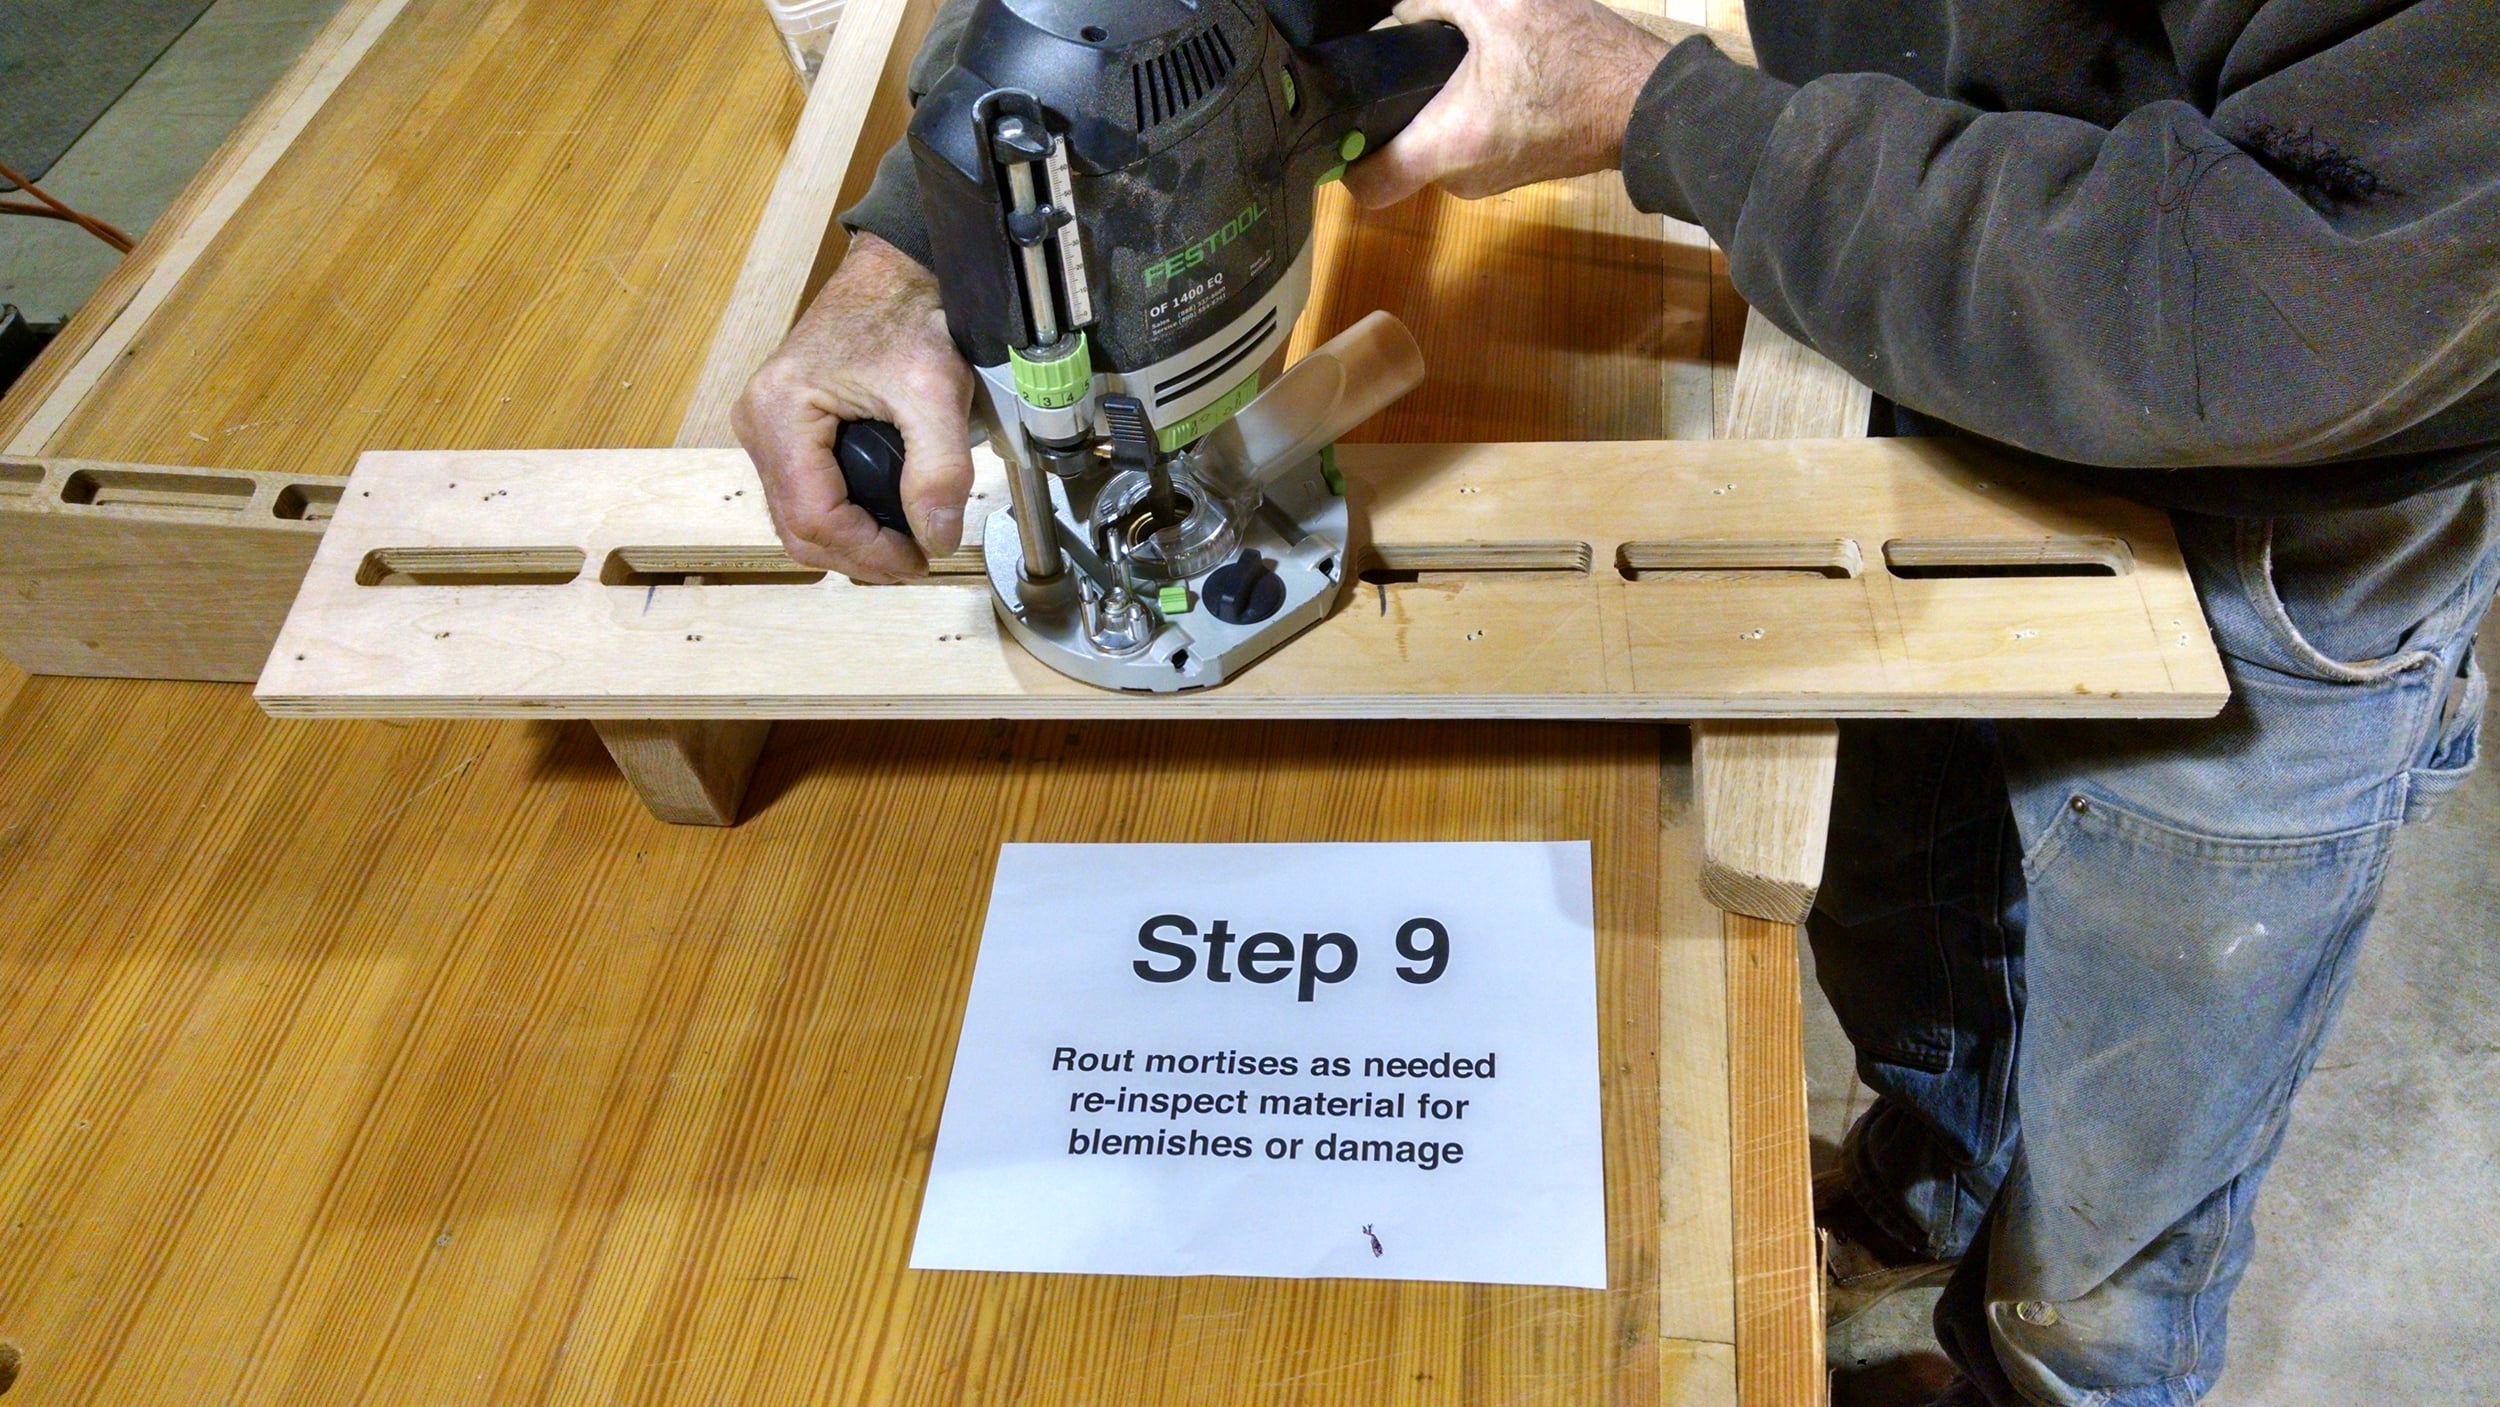
Rout mortises as needed, re-inspect material for blemishes or damage
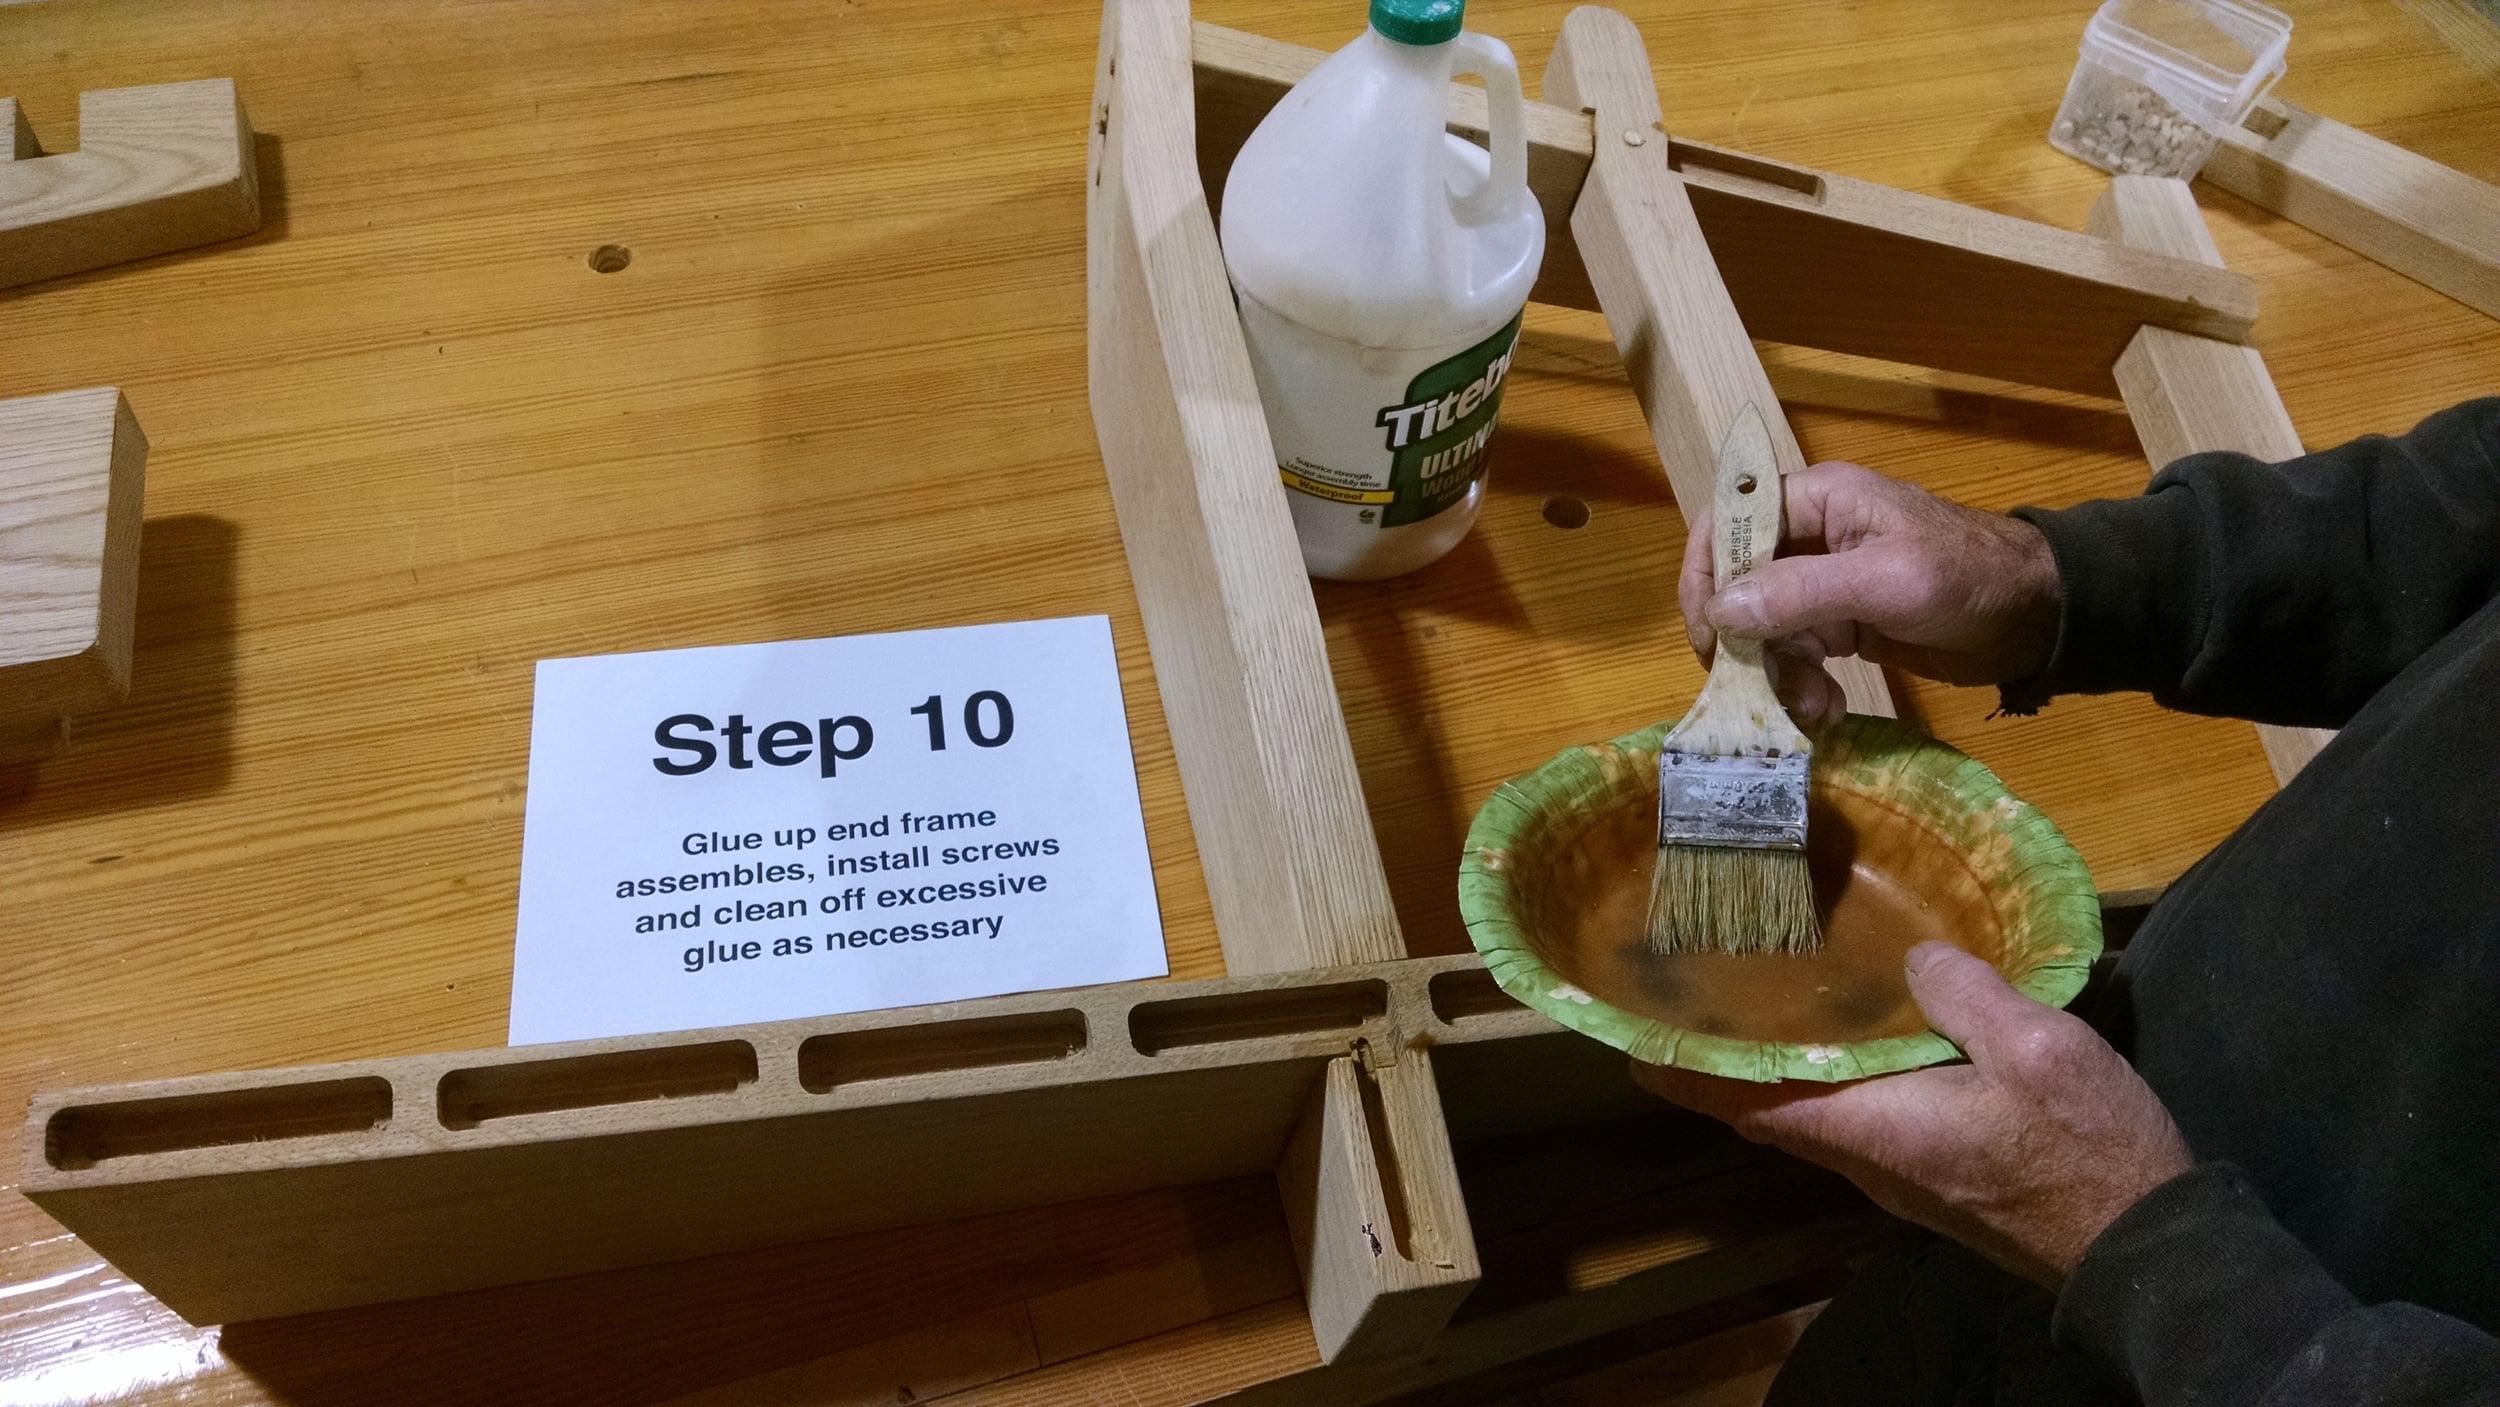
Glue up end frame assembles, install screws and clean off excessive glue as necessary
11: Cut both seat and back slats out on compound miter saw with required 5 & 1 degree accordingly
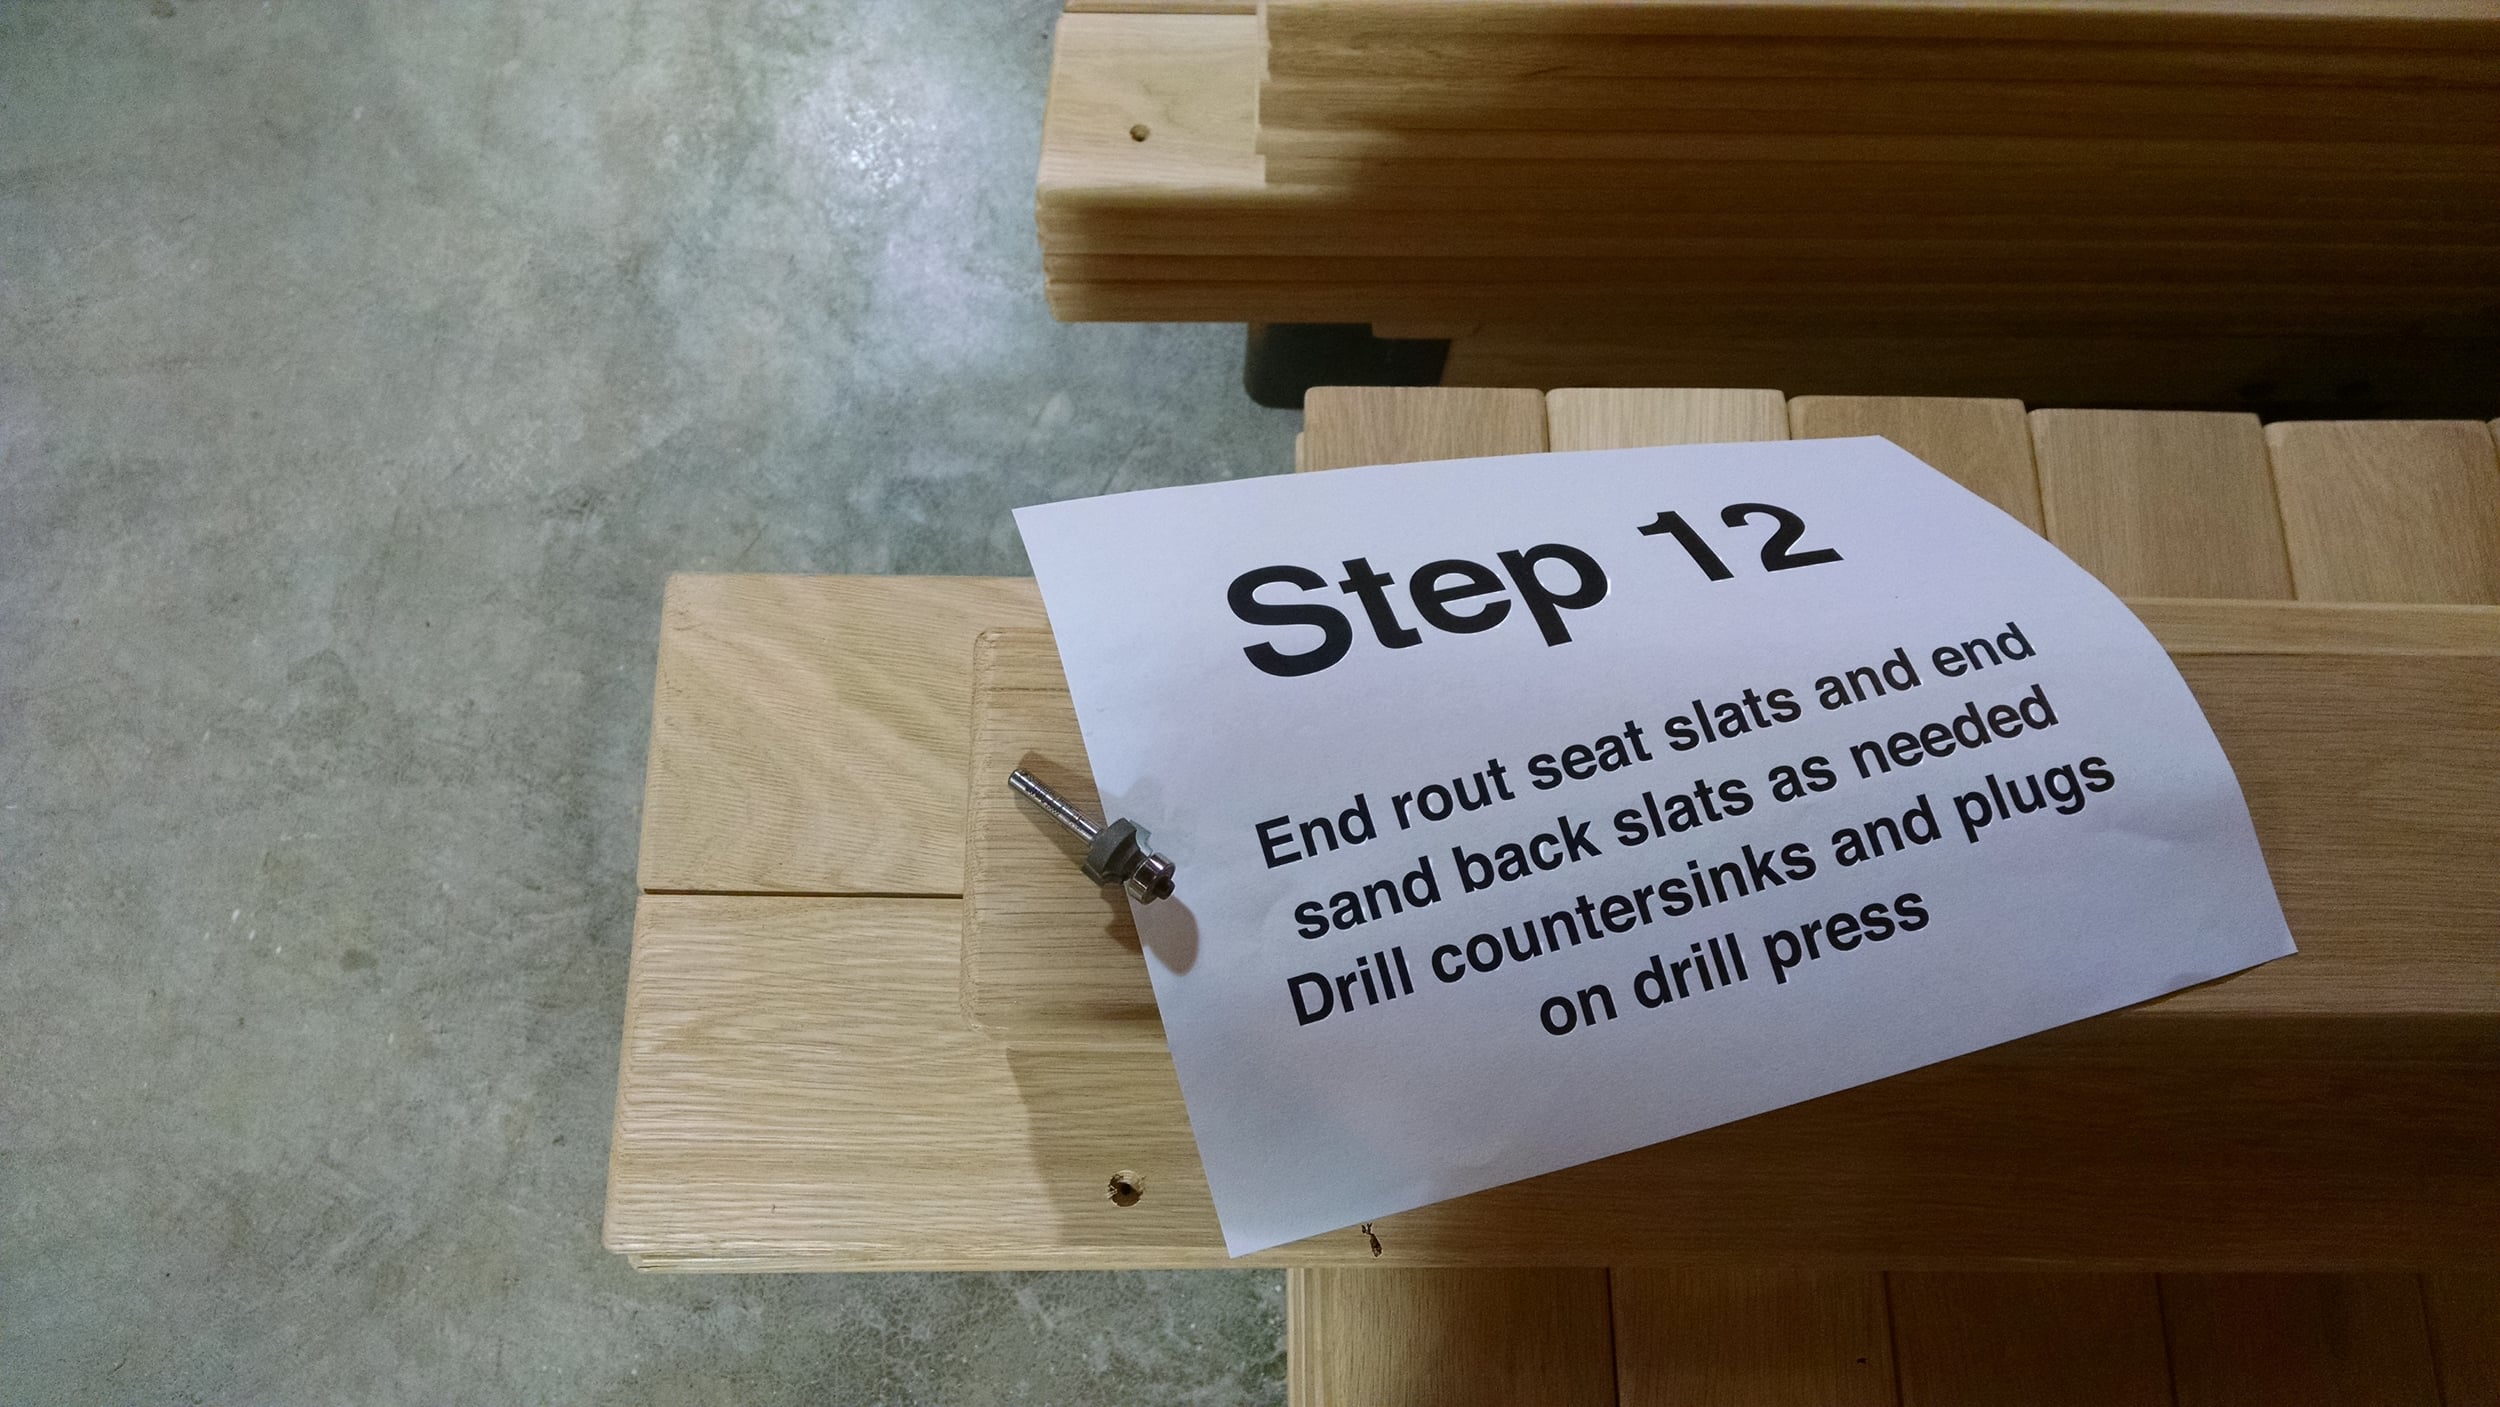
12: End rout seat slats and end sand back slats as needed; drill countersinks and plugs on drill press
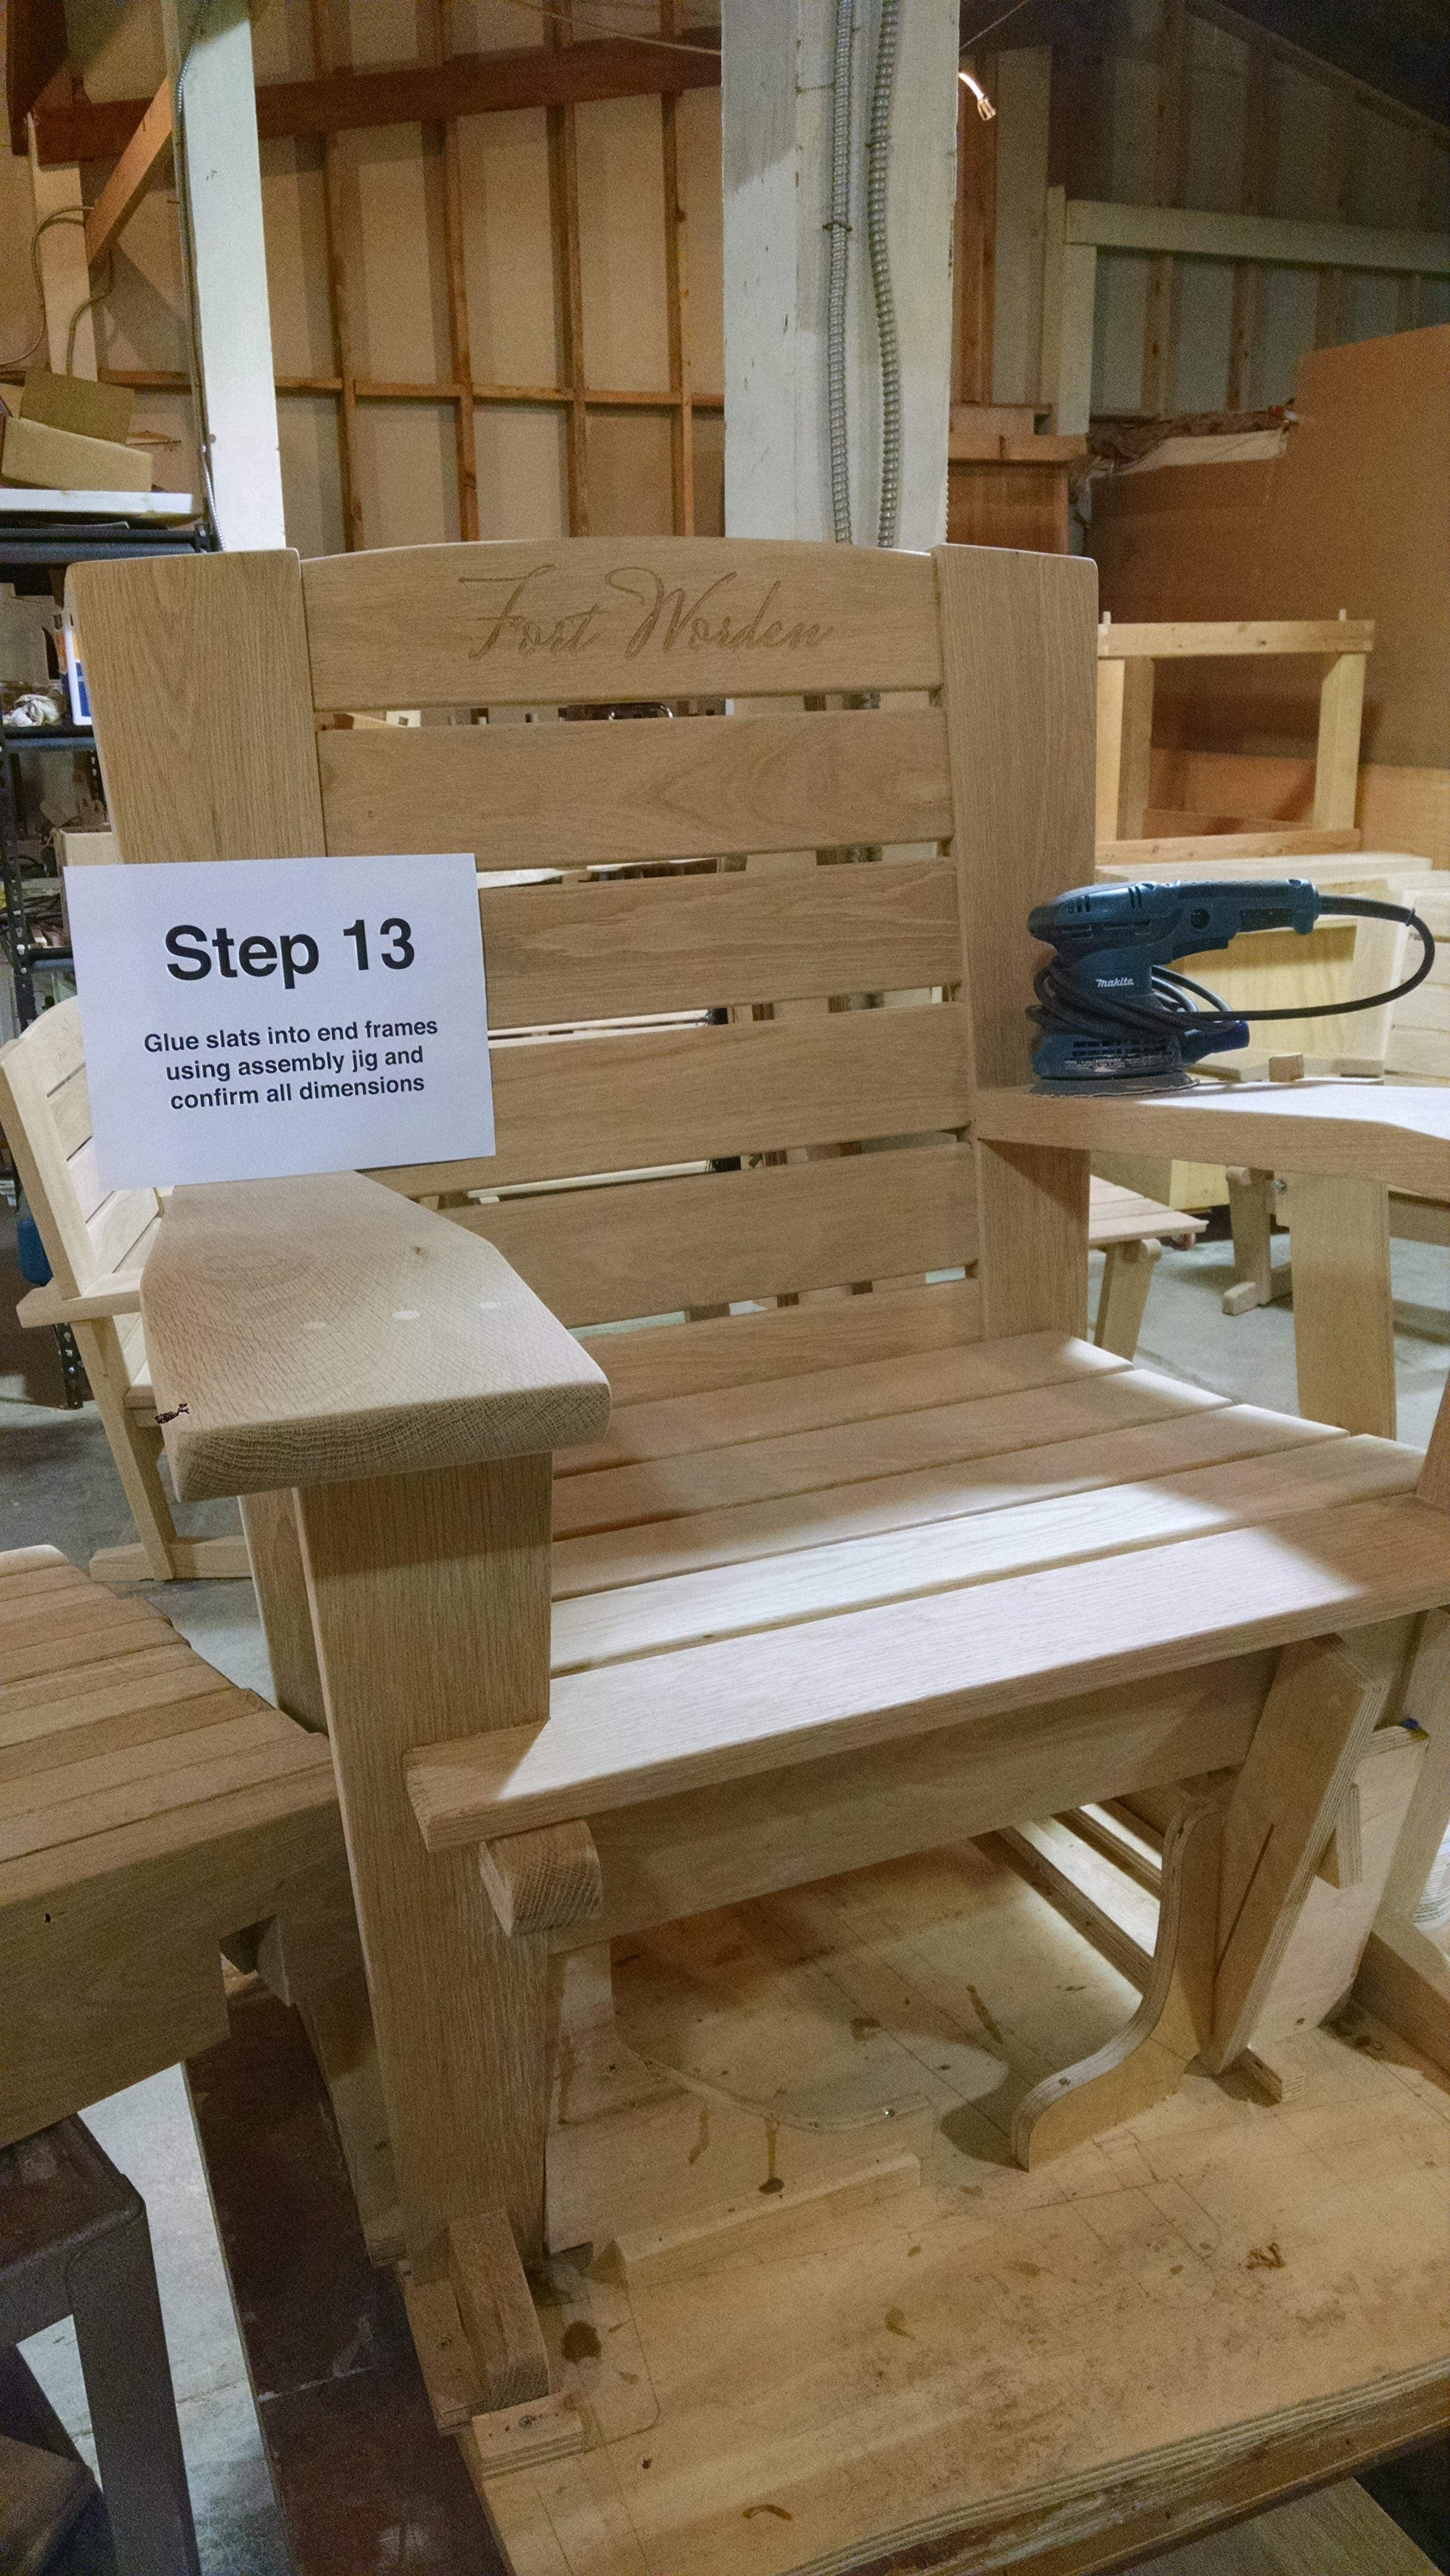
Glue slats into end frames using assembly jig and confirm all dimensions